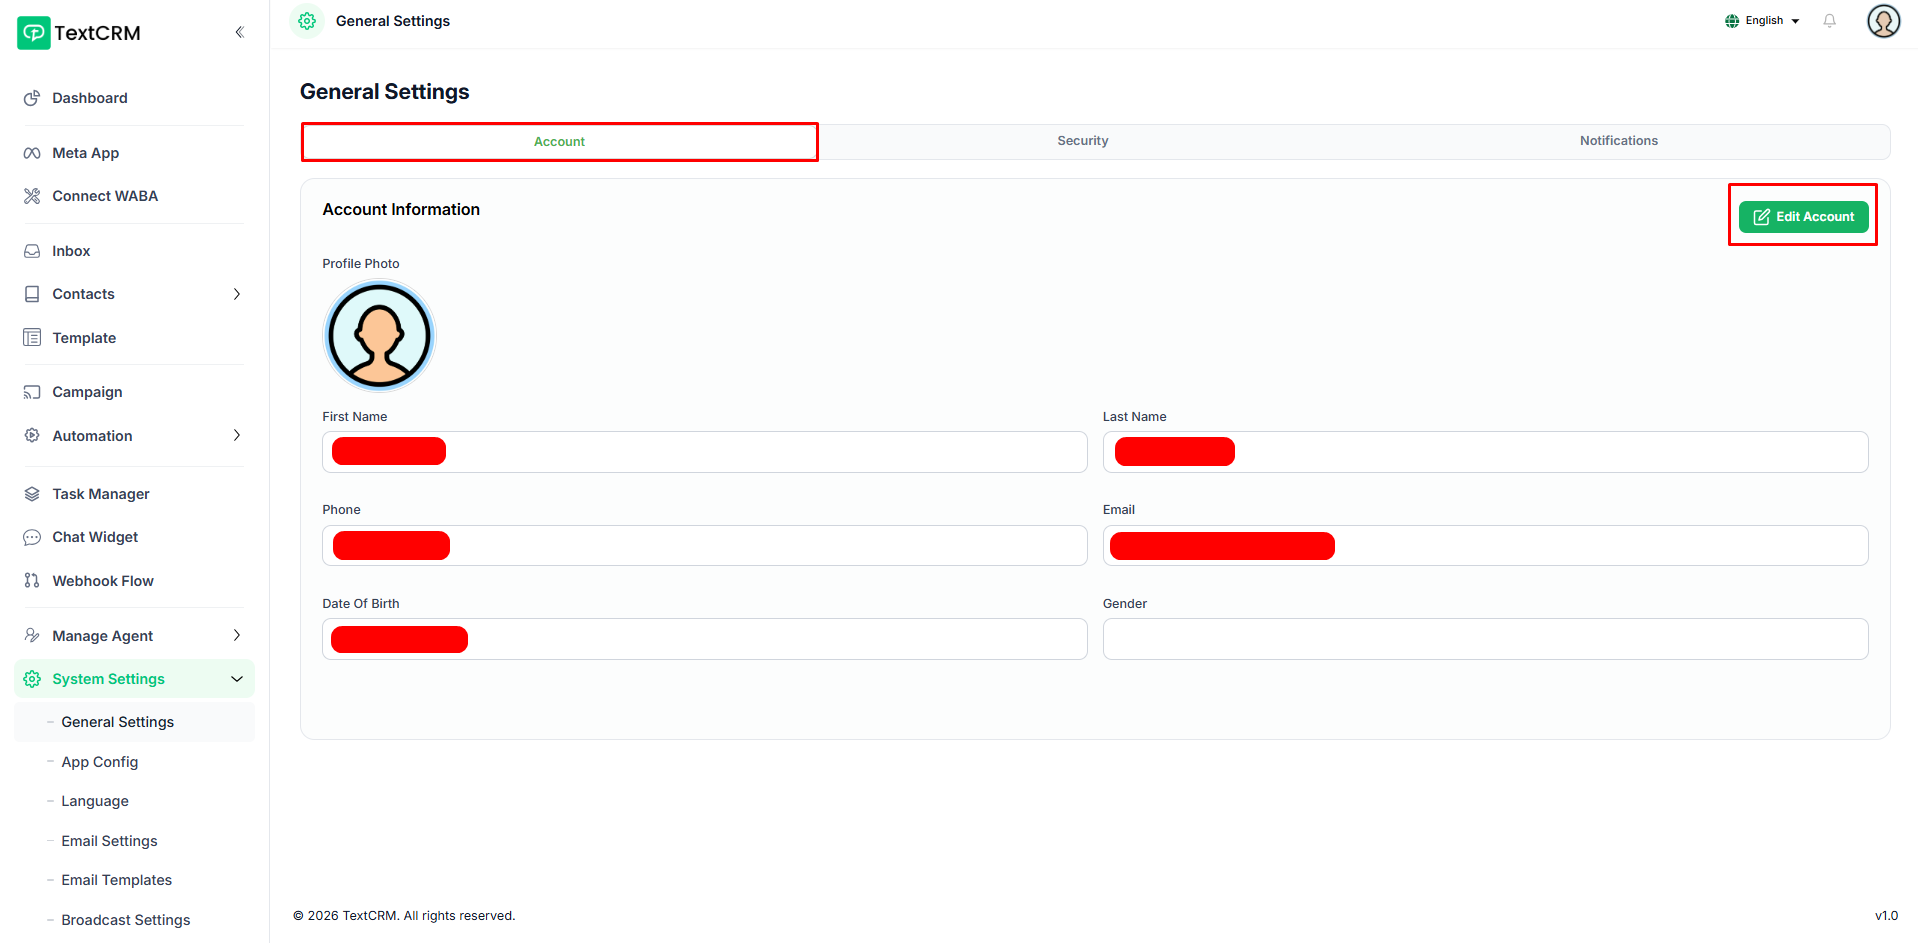
General Settings
The Account tab displays your personal profile information including your name, email address, phone number, gender, date of birth, and profile photo. Click the Edit Account button to update any of your details through a quick modal form.
The Security tab allows you to update your account password to keep your account protected. Enter your current password, set a new one with a minimum of 8 characters, confirm it — the Update button activates only when all fields are valid.
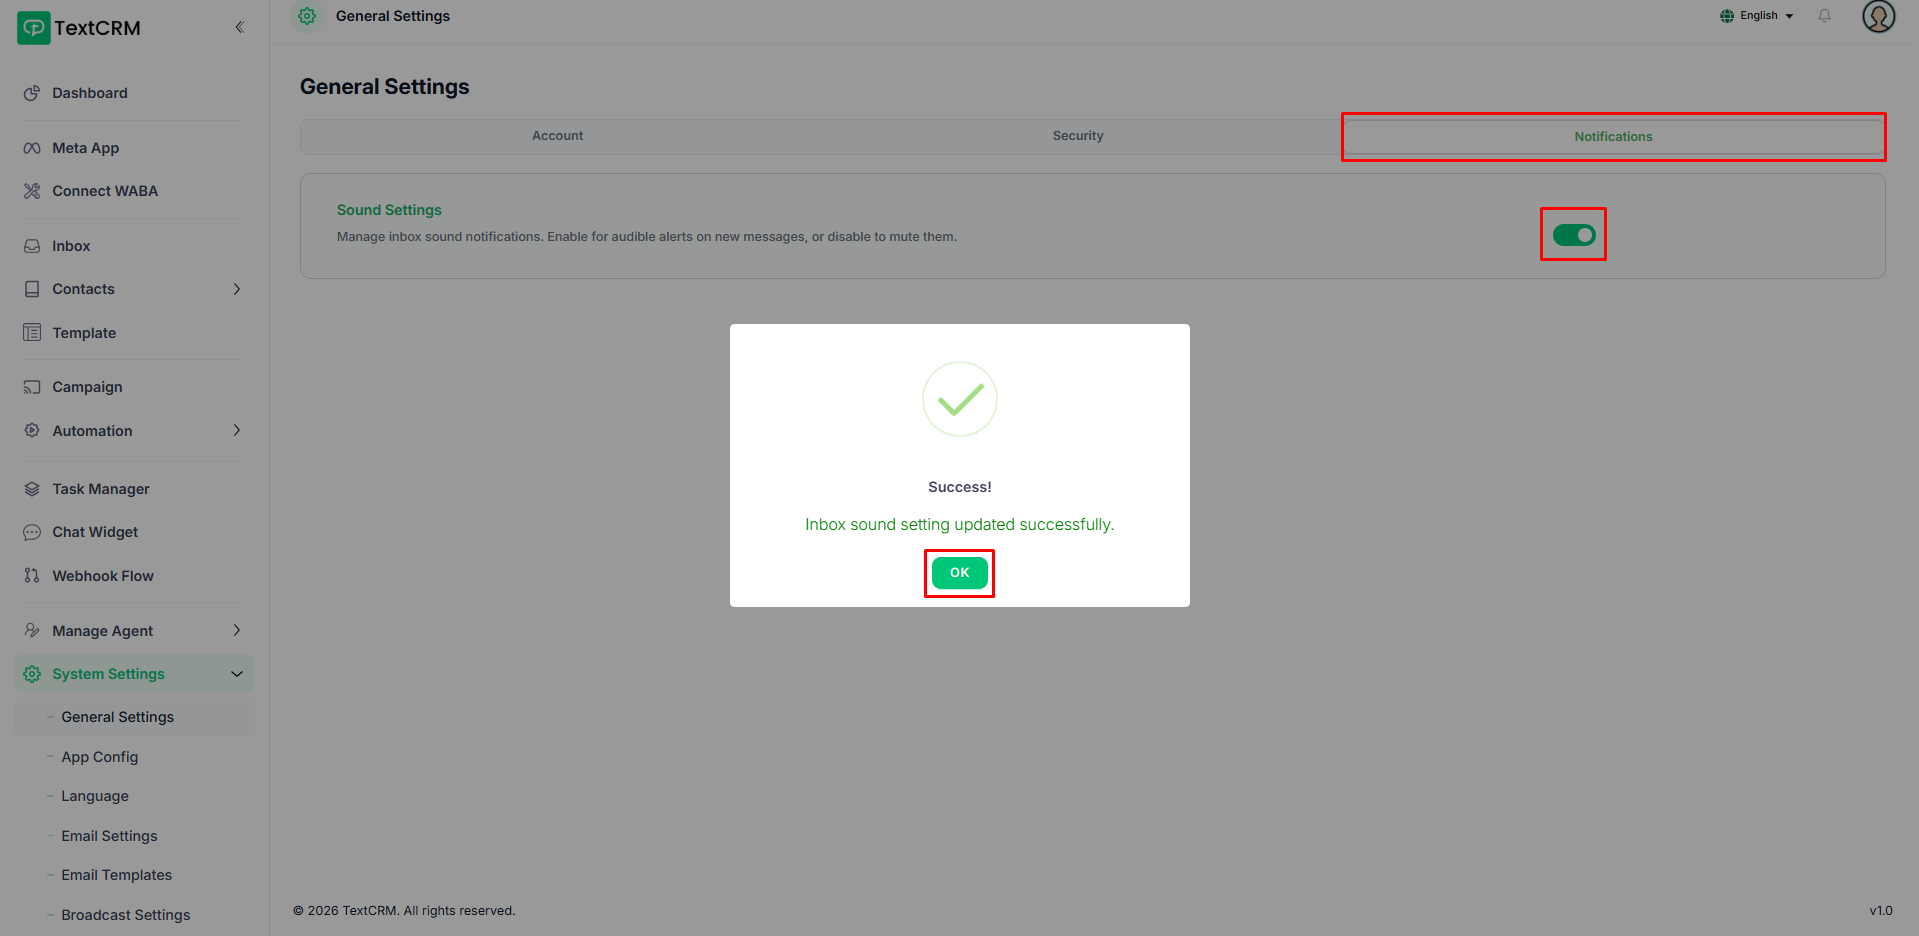
The Notifications tab lets you control sound settings for your inbox. Use the toggle switch to enable or disable audible alerts so you are notified whenever a new message arrives.
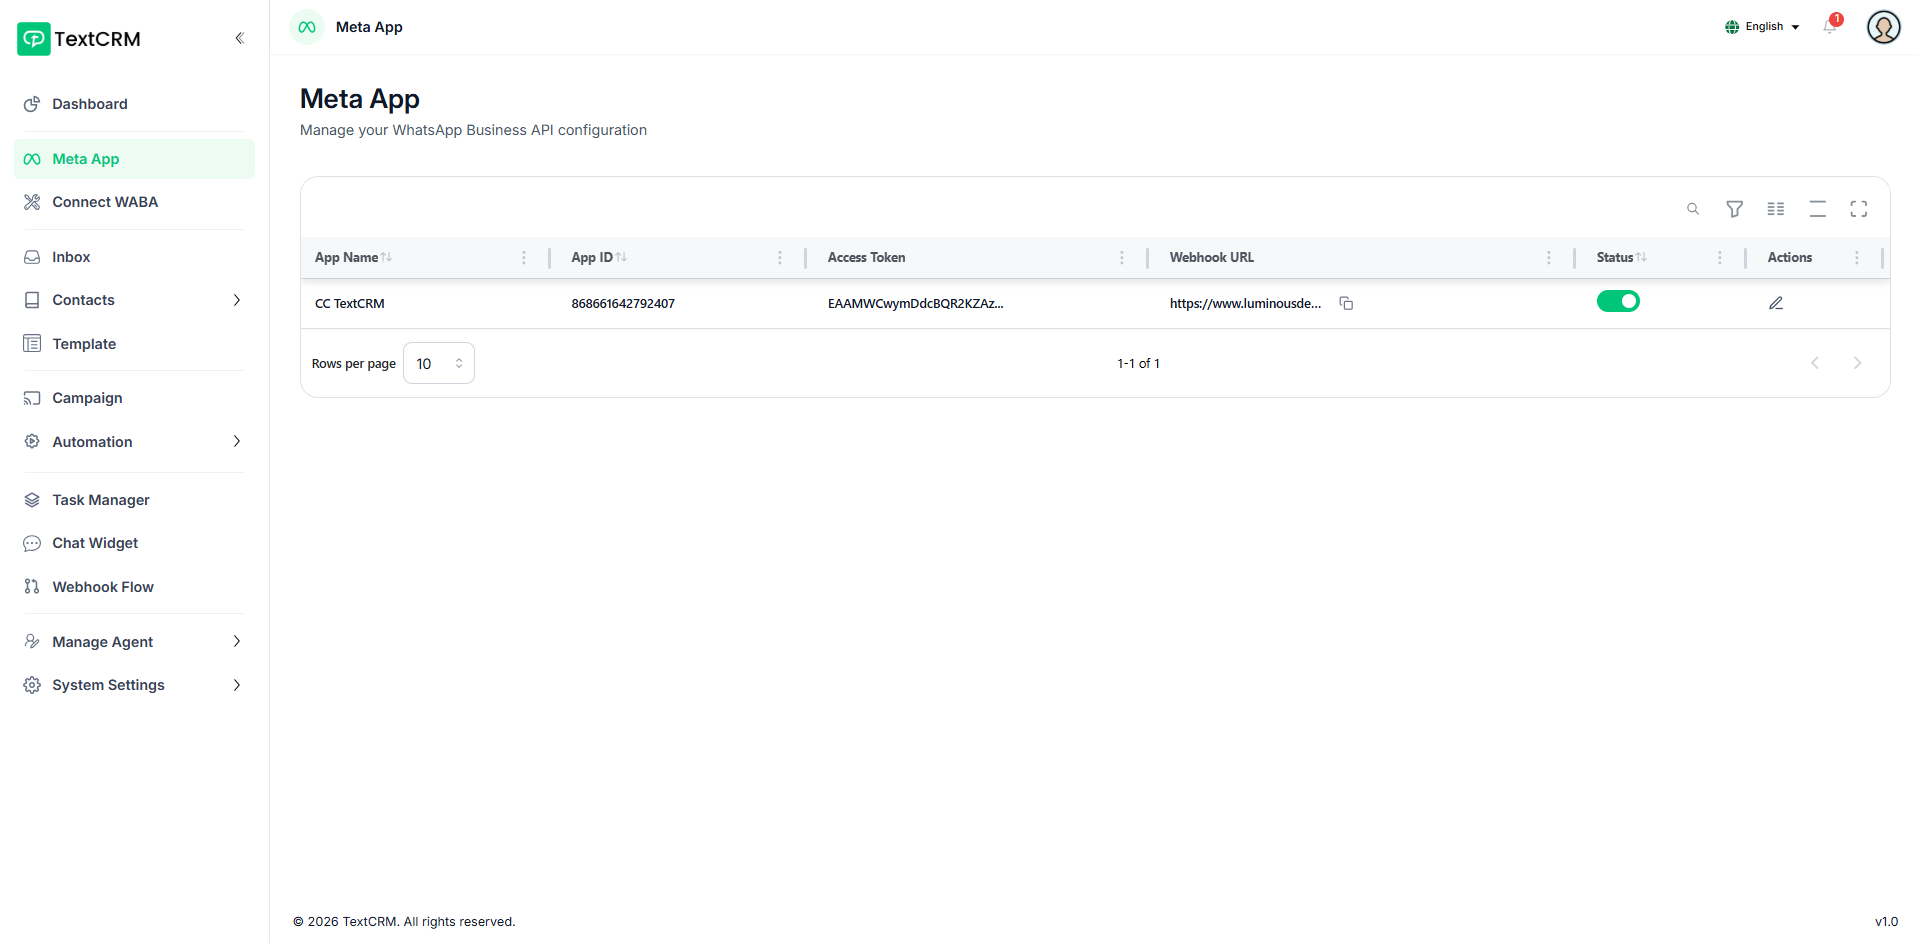
Meta App
Meta App is your gateway to connecting TextCRM with the WhatsApp Business API. Enter your Meta App credentials — App ID and Access Token — copy the generated webhook URL into your Meta dashboard & set configuration.
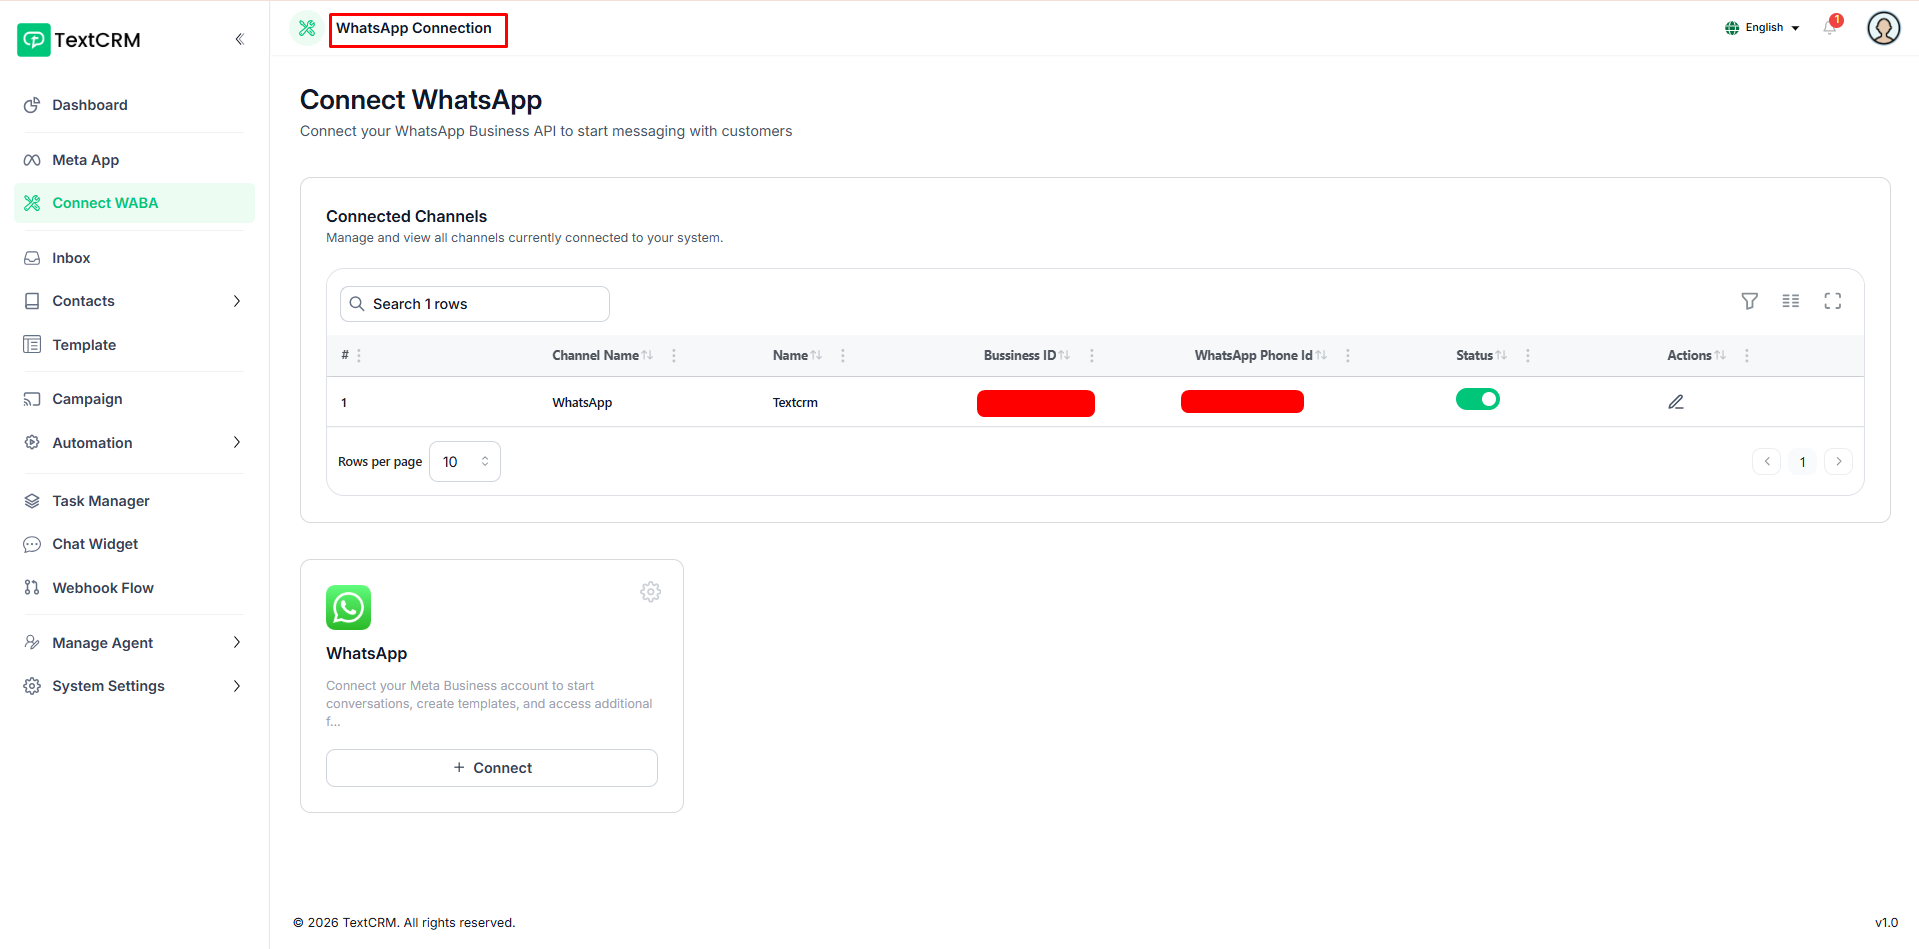
Connect WABA
Connect WABA is a one-click setup that links your WhatsApp Business Account to TextCRM. Once the connection is complete, your phone number appears in the Connected Channels list where you can activate, deactivate, or view its details at any time.
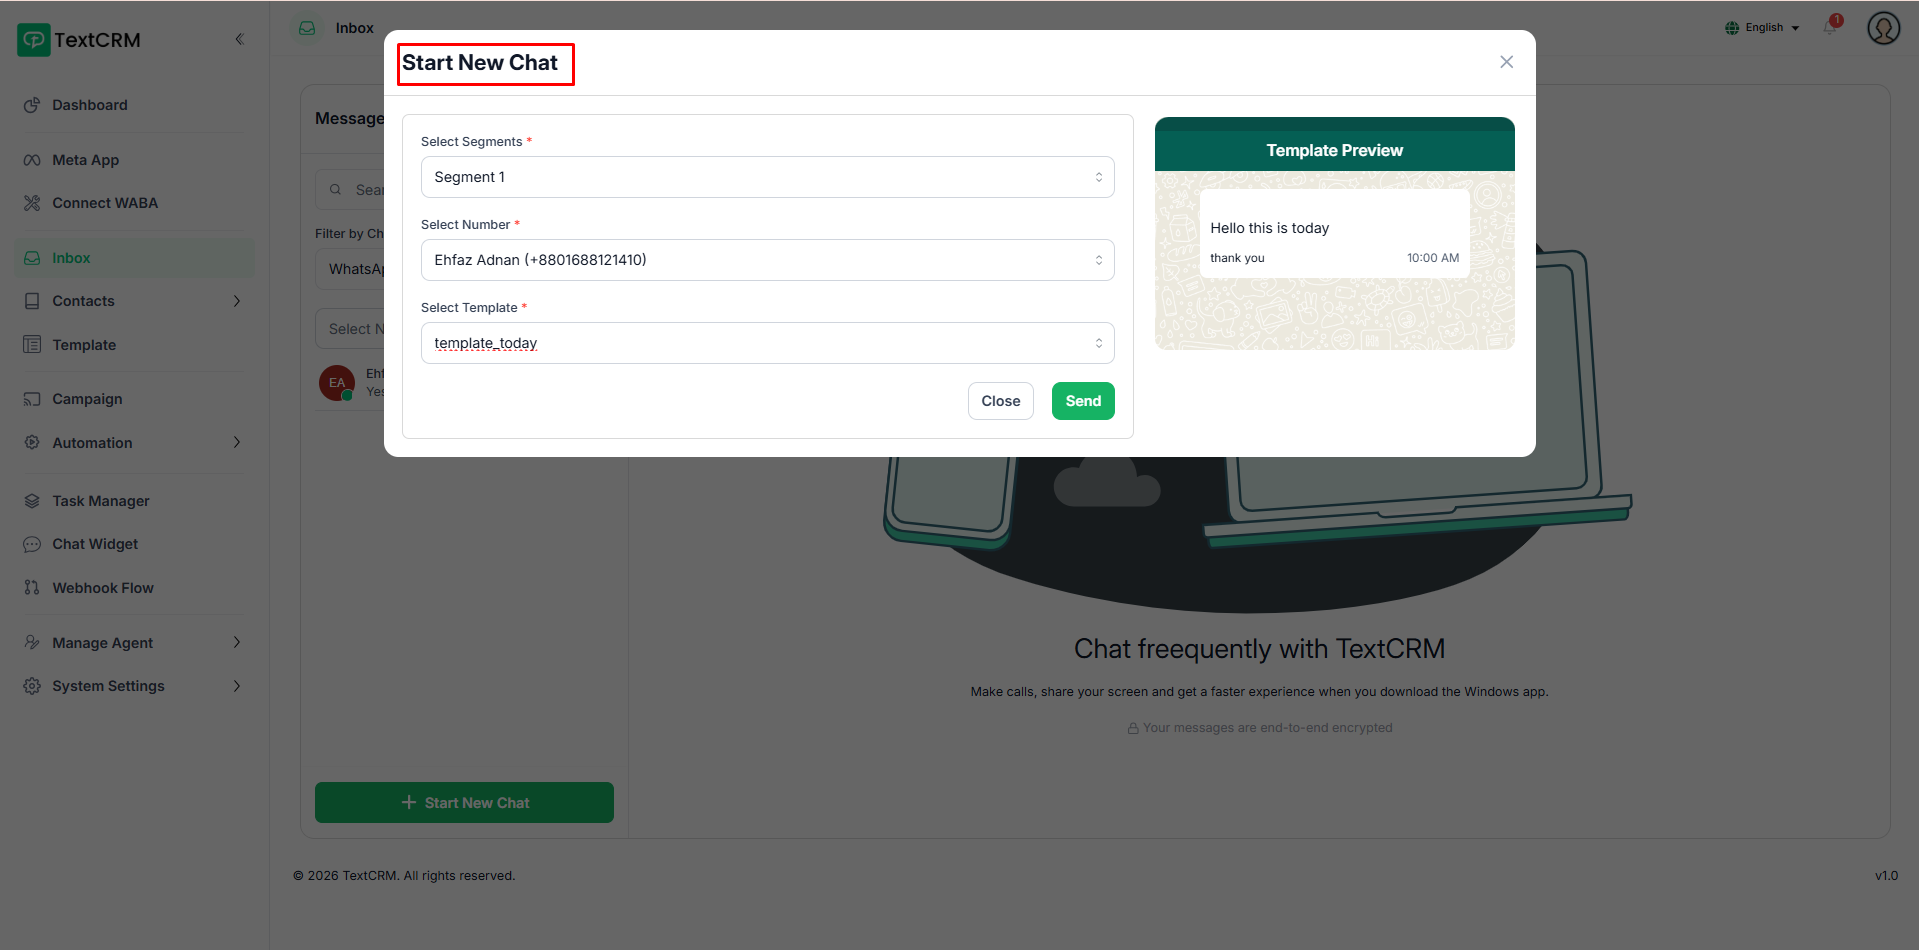
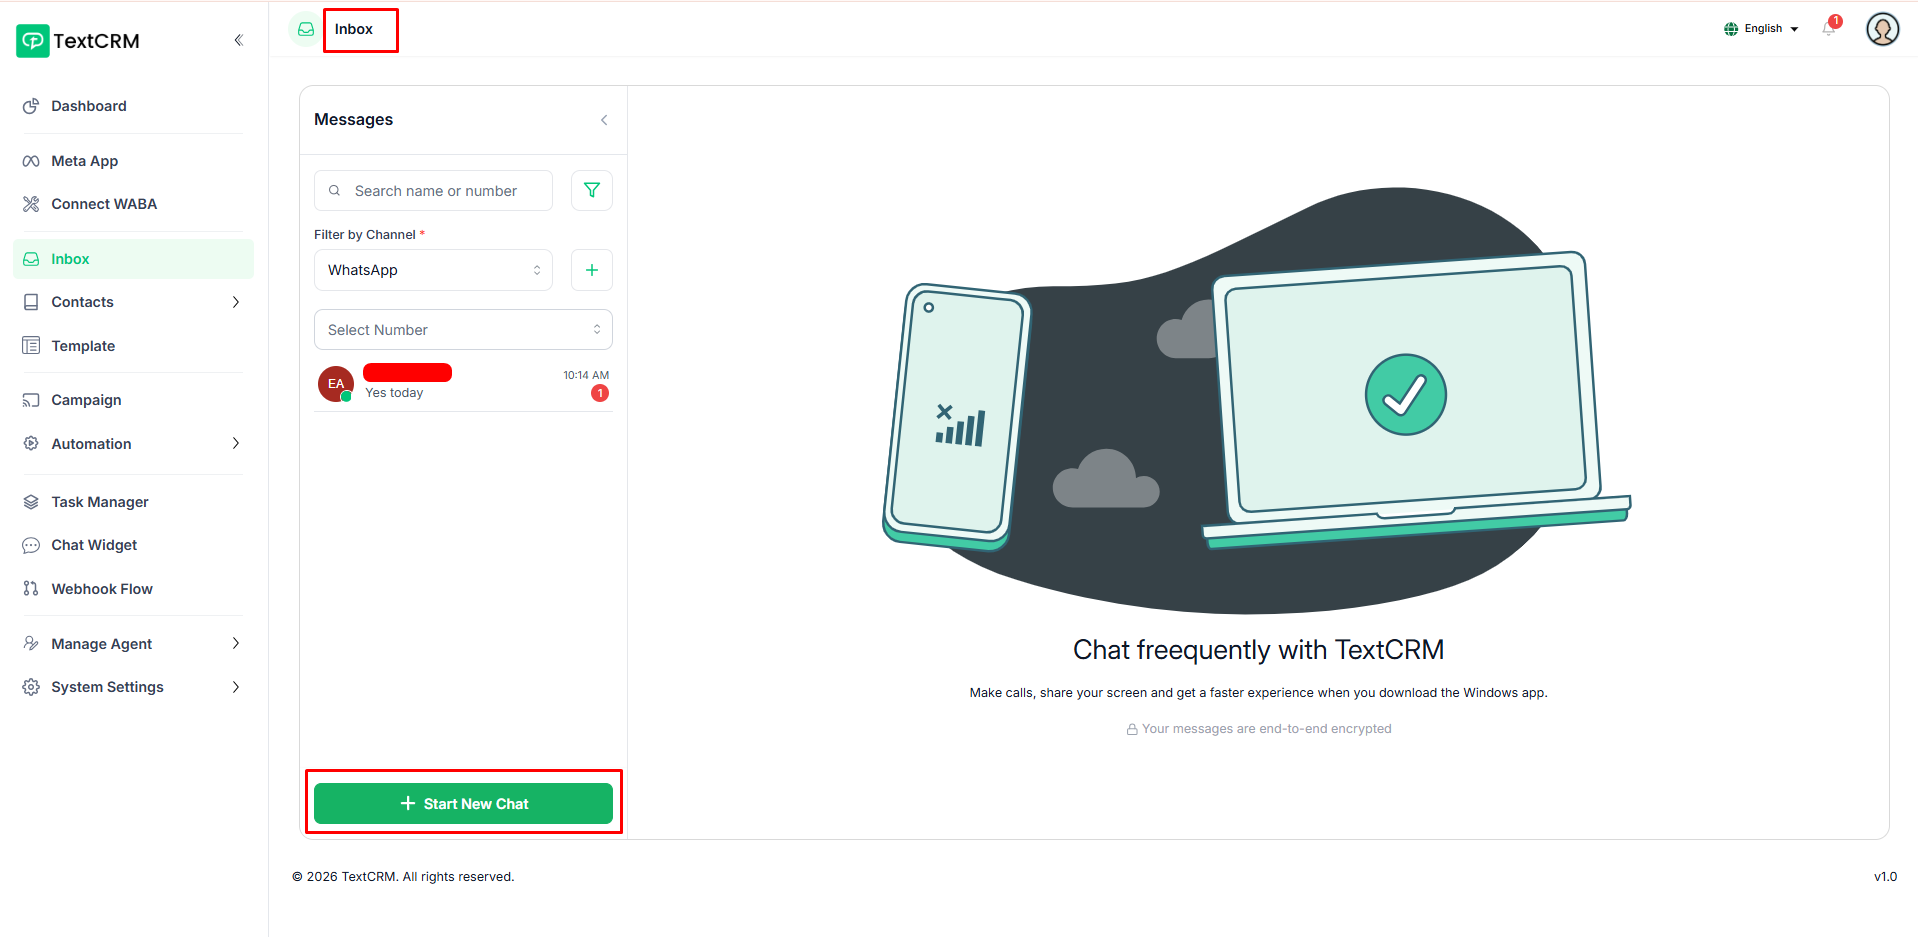
Inbox
The Inbox is the central hub for all WhatsApp conversations — view and filter live chats by status, date, channel, or favorites, start new conversations, send templates or quick replies, attach media, assign agents, and add private notes, all updated in real time.
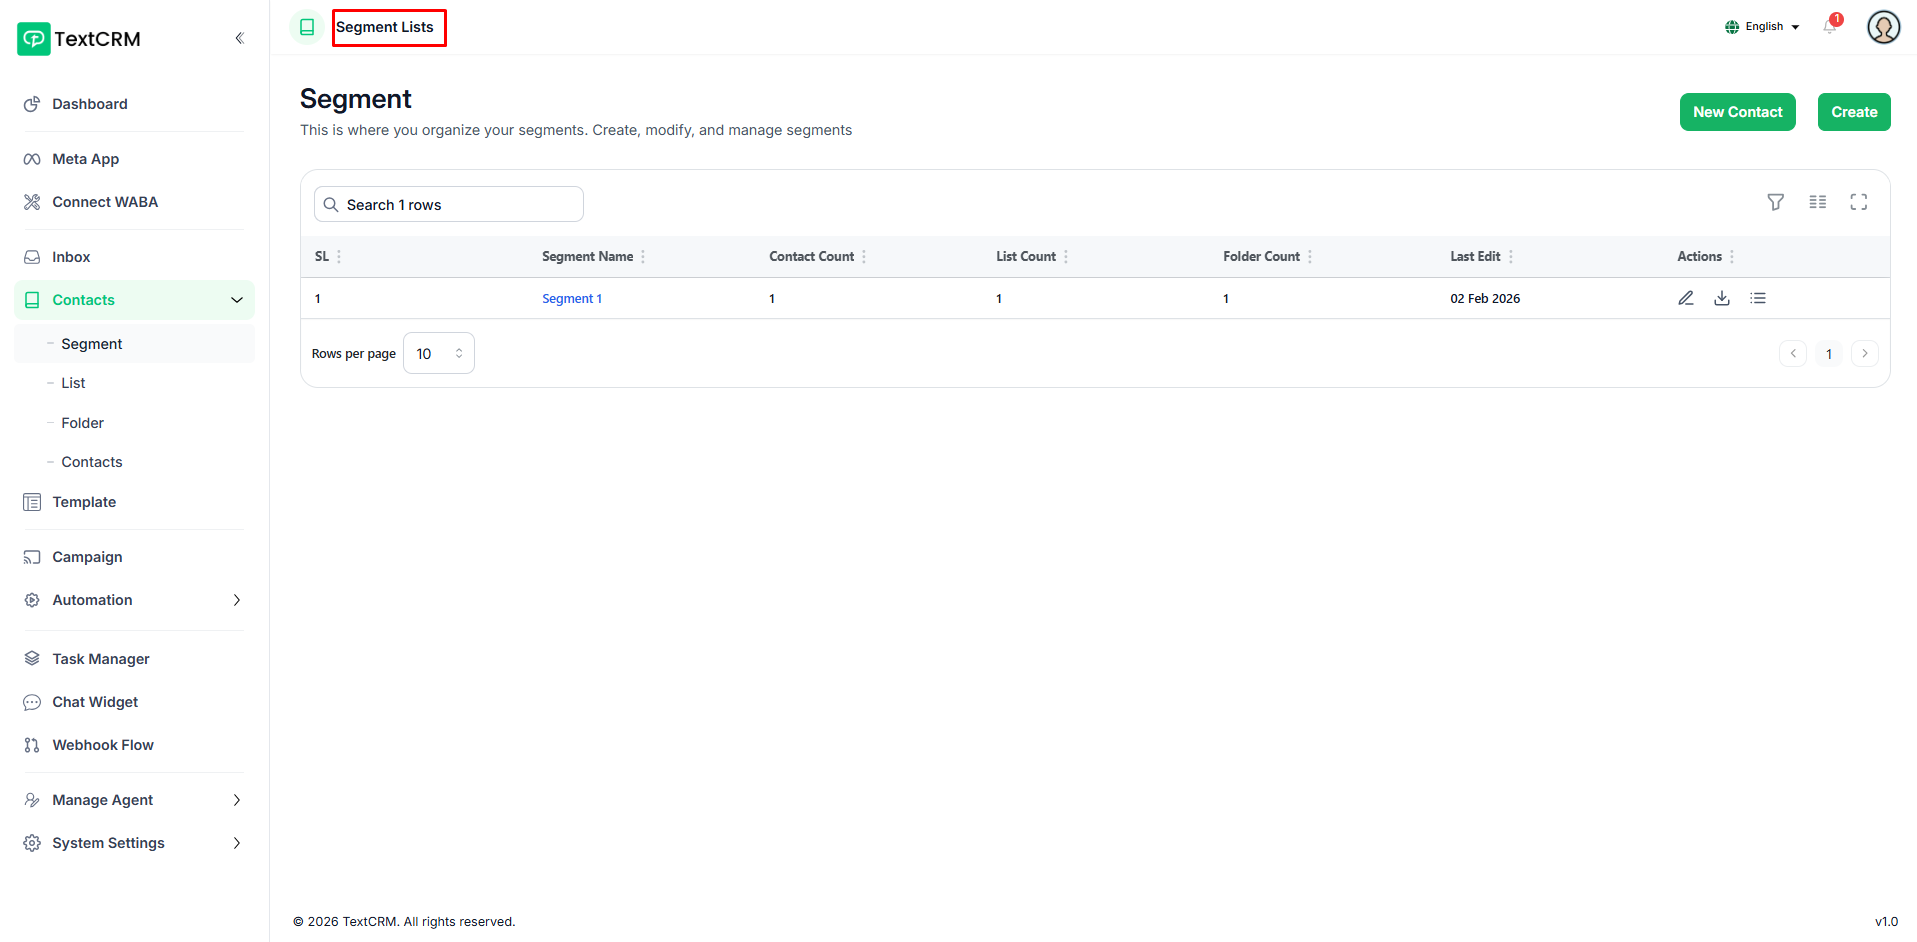
Segment
Segments are the top-level building blocks for organizing your contacts. Create and name segments to categorize your audience — each segment acts as a container that holds lists and all the contacts within them.
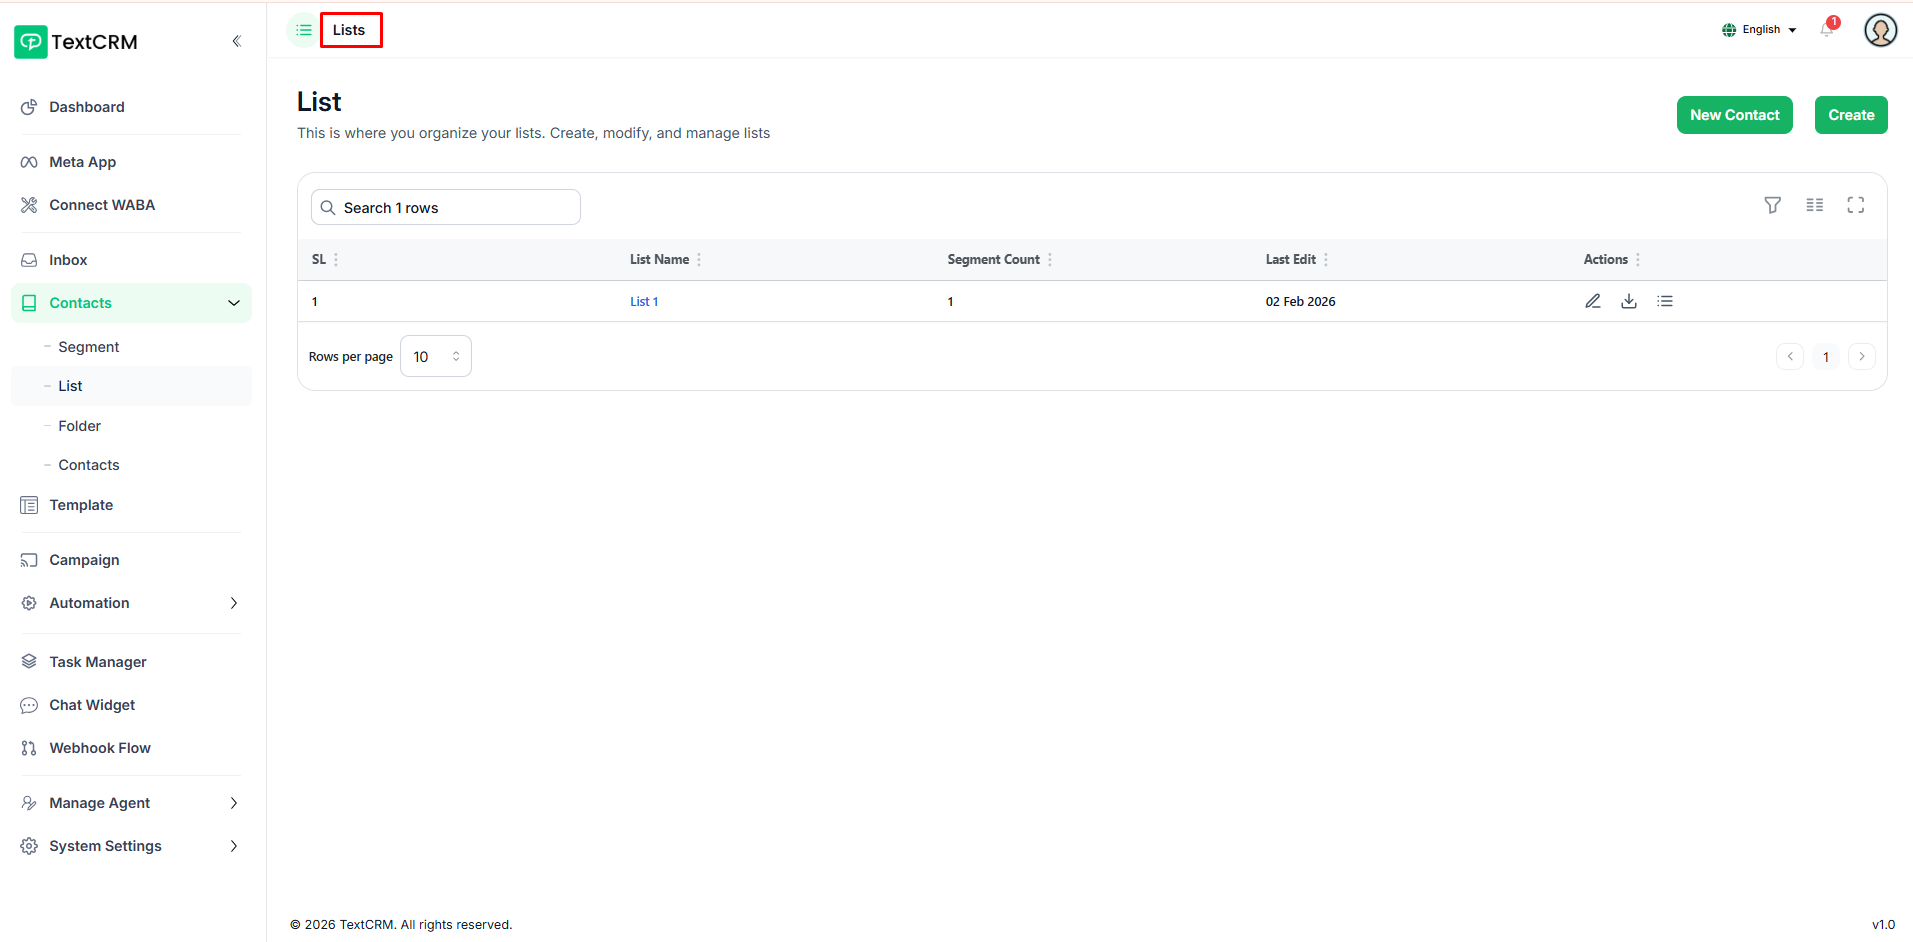
List
Lists sit inside segments and let you break your audience into more targeted groups. Create multiple lists within a segment to organize contacts by campaign, region, or any other criteria that fits your workflow.
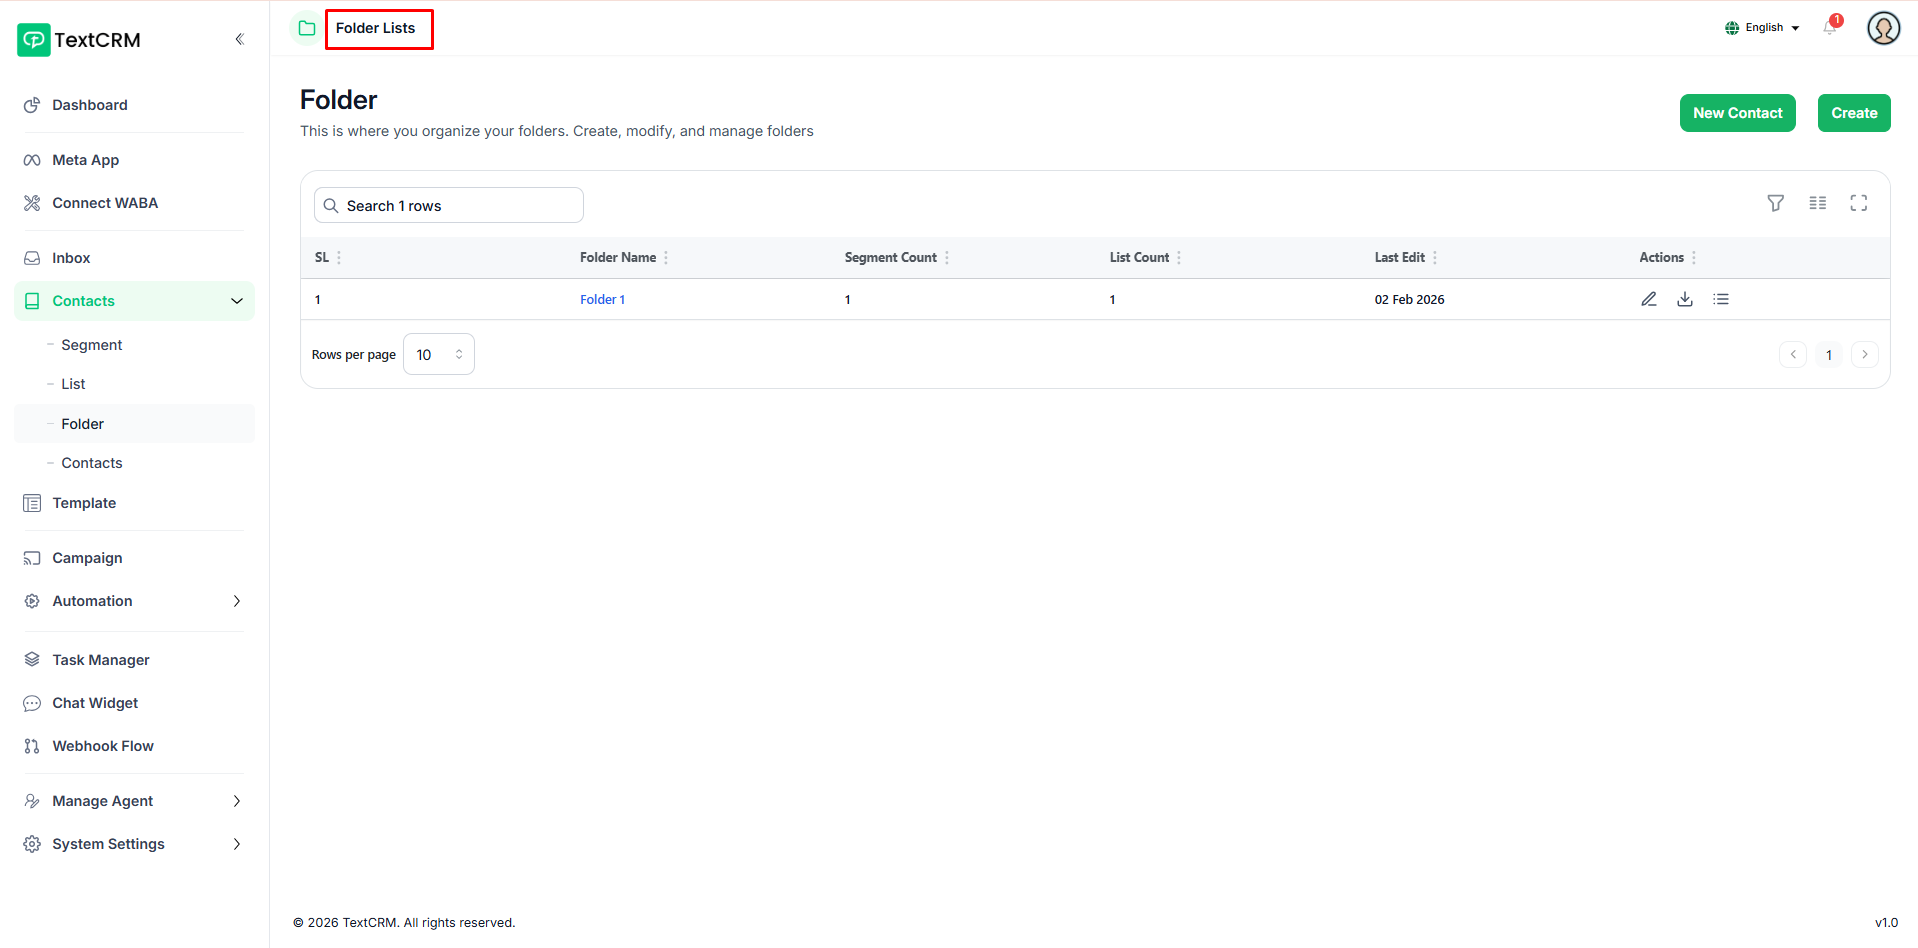
Folder
Folders add a third layer of organization inside lists, keeping large contact groups neatly structured. Group contacts into folders for finer control, and export the entire folder's contact data whenever needed.
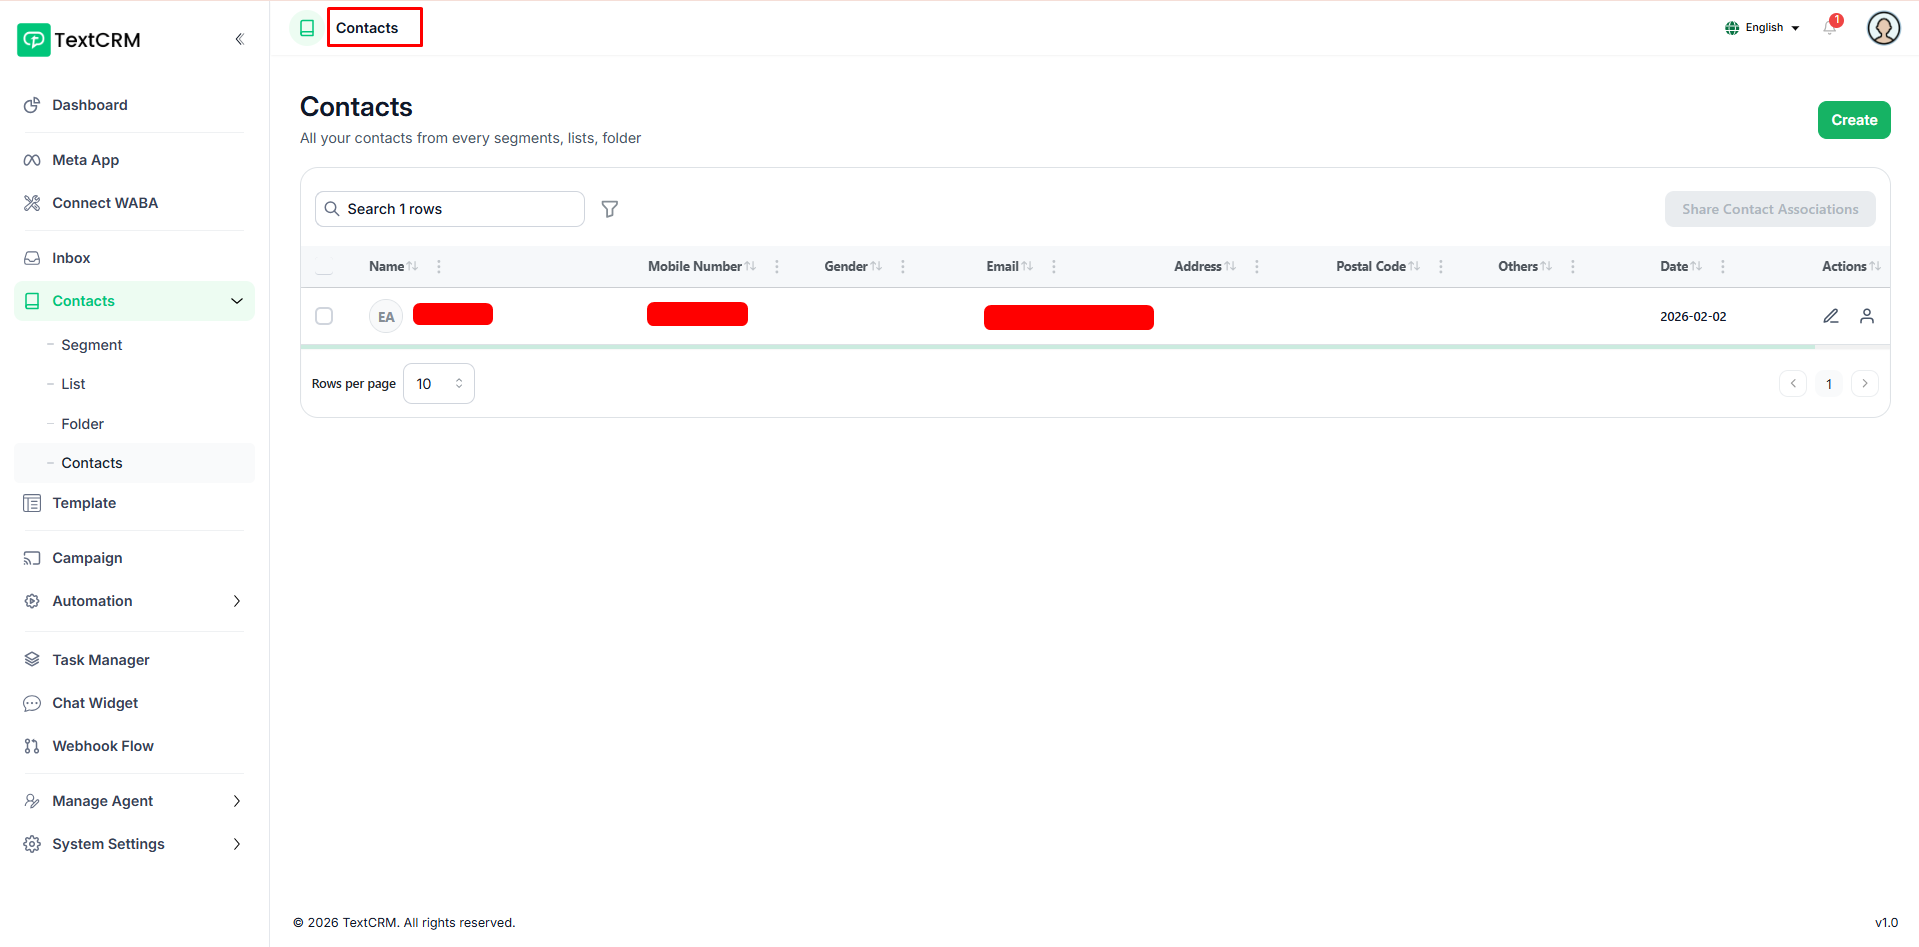
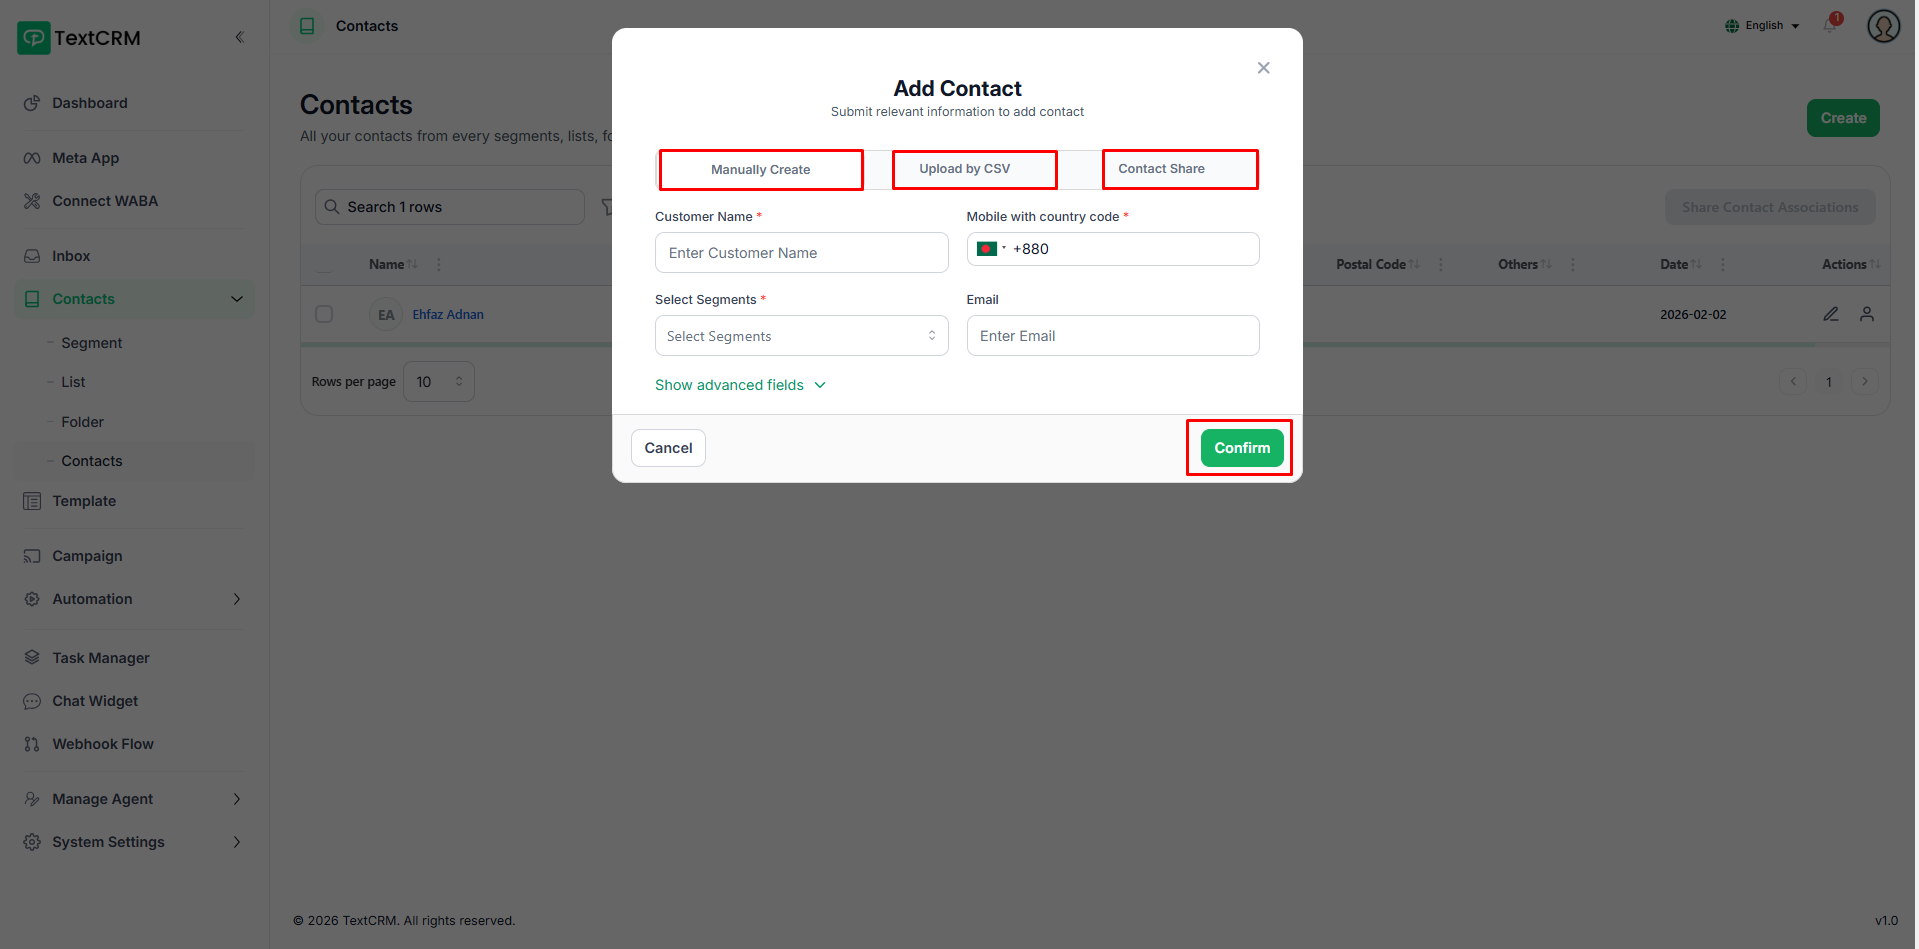
Contacts
This is where all your individual contacts live. Add them manually one by one, or bulk import via CSV — then view, search, and manage contacts across all your segments, lists, and folders from a single table.
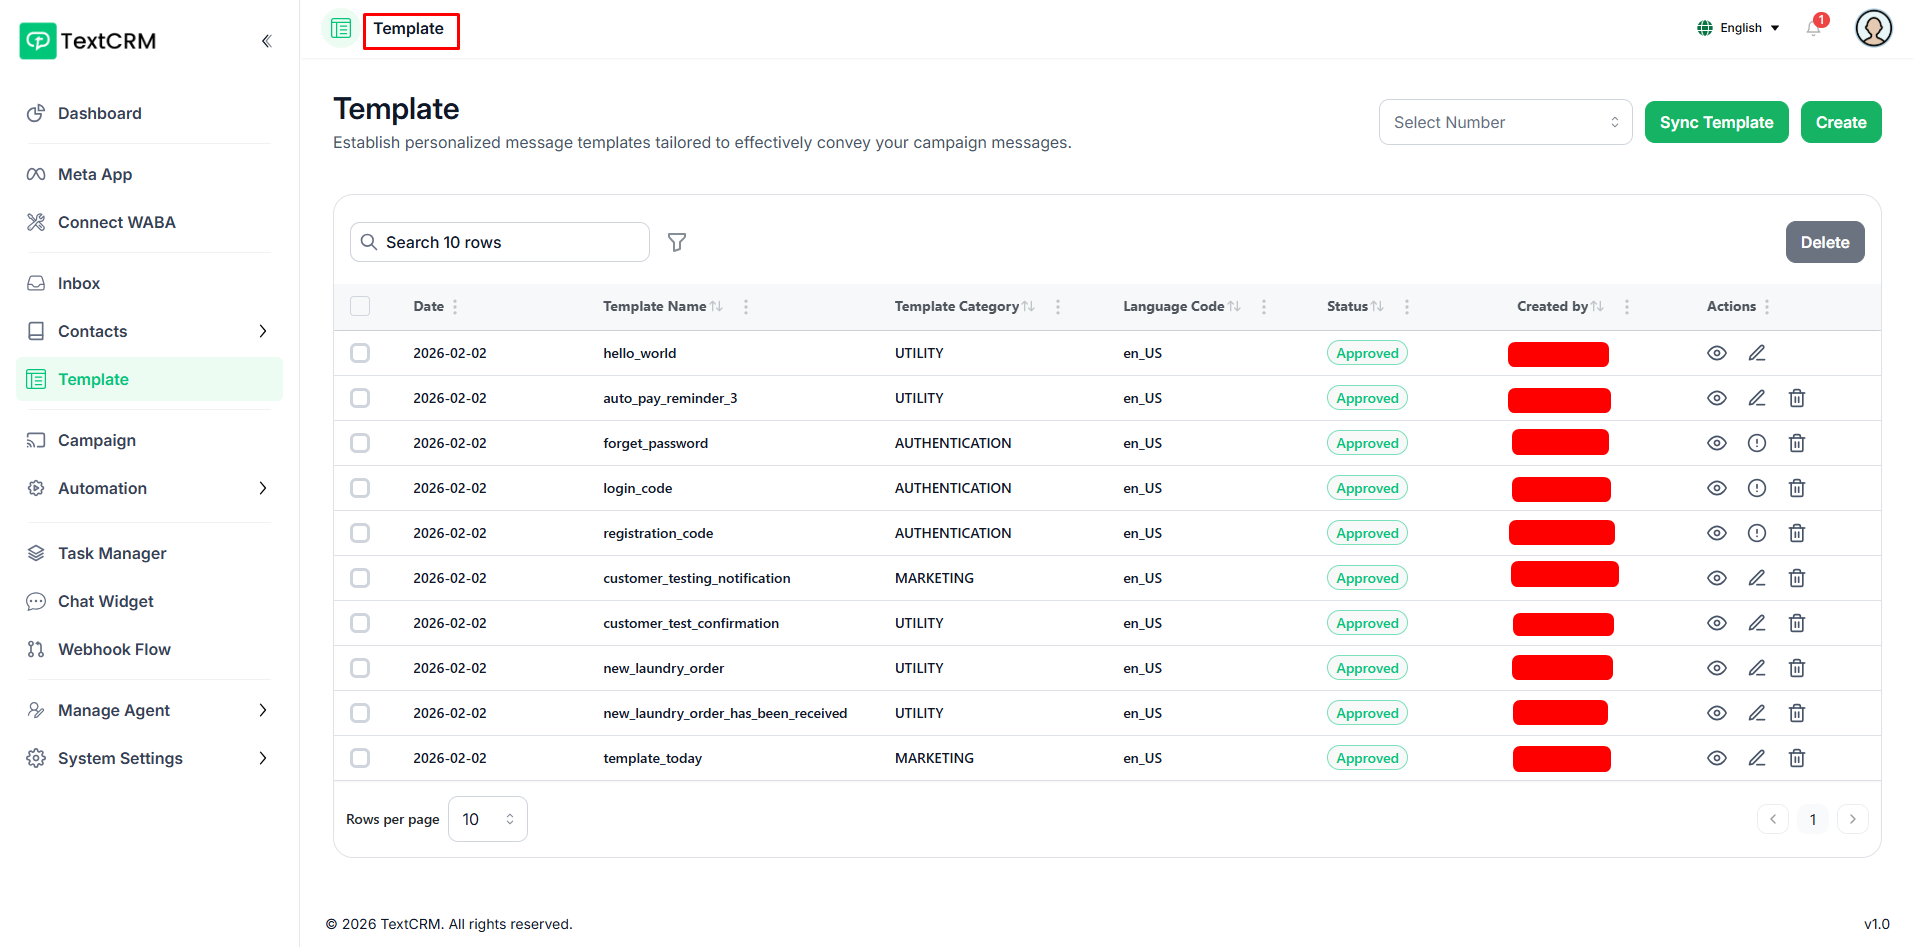
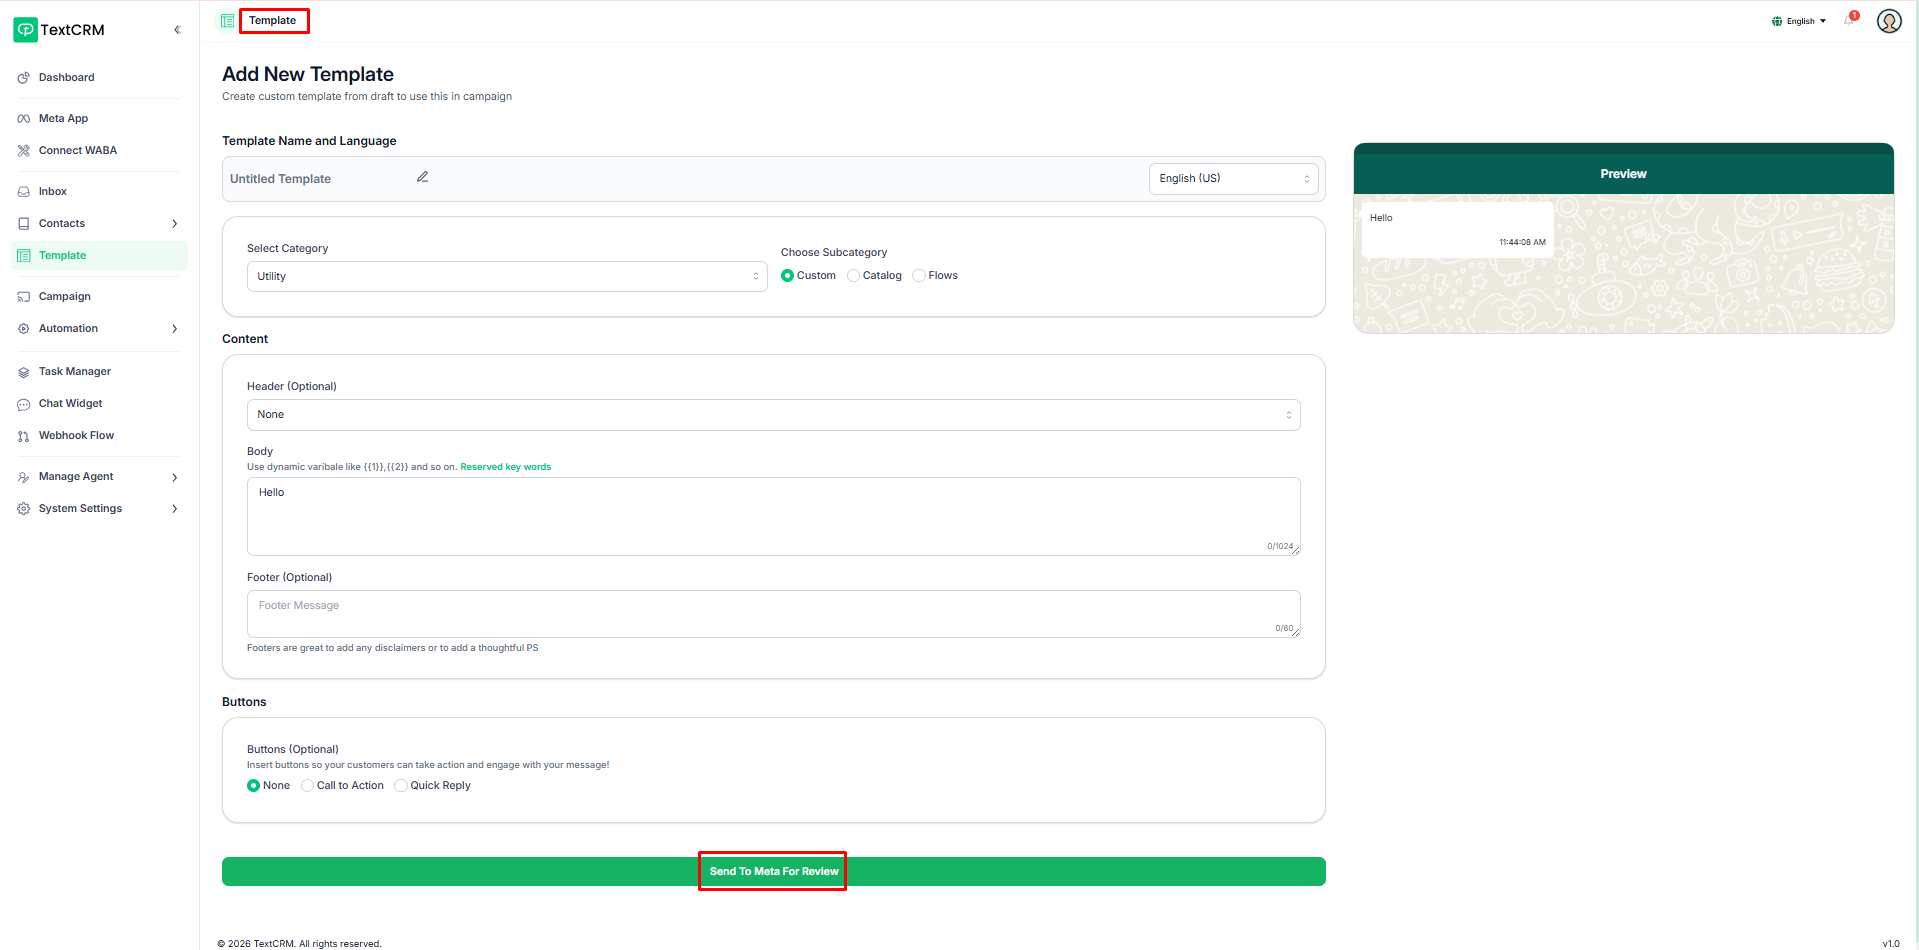
Template
Before sending messages, WhatsApp requires pre-approved message templates. Build templates with a header, body, footer, and action buttons — choose from call-to-action or quick reply button types — then submit them to Meta for approval. Once approved, templates become available for use in campaigns and broadcasts.
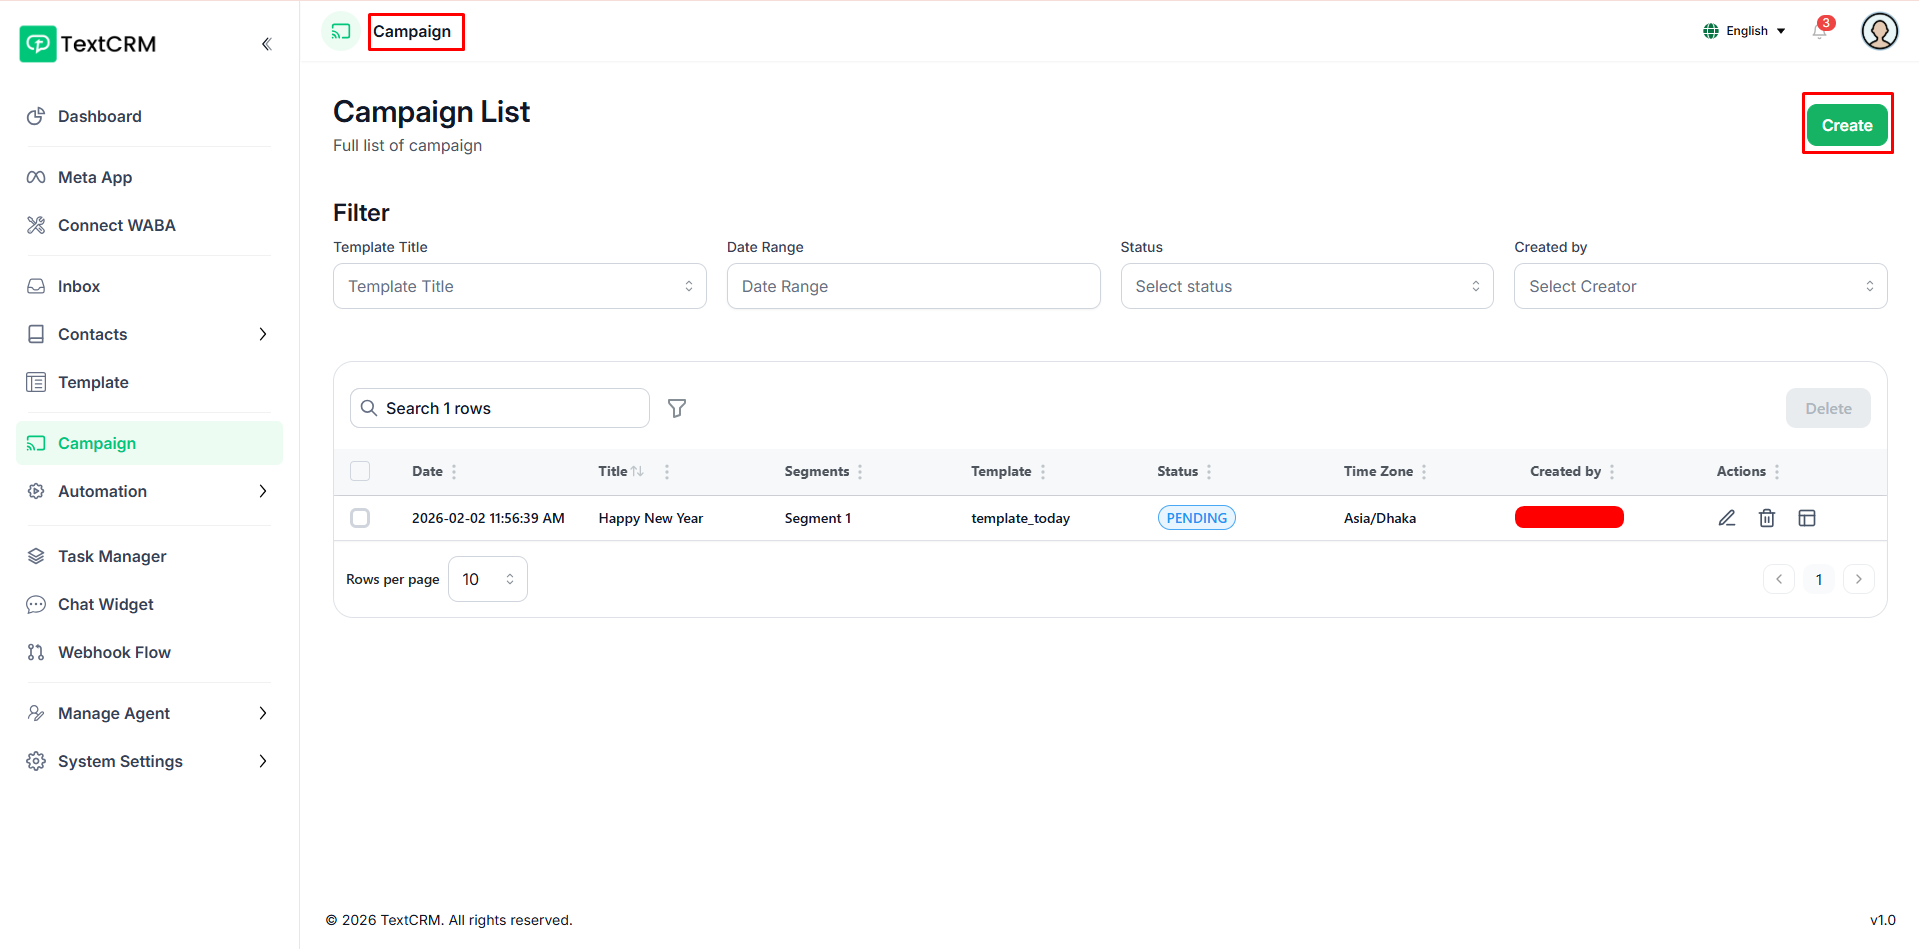
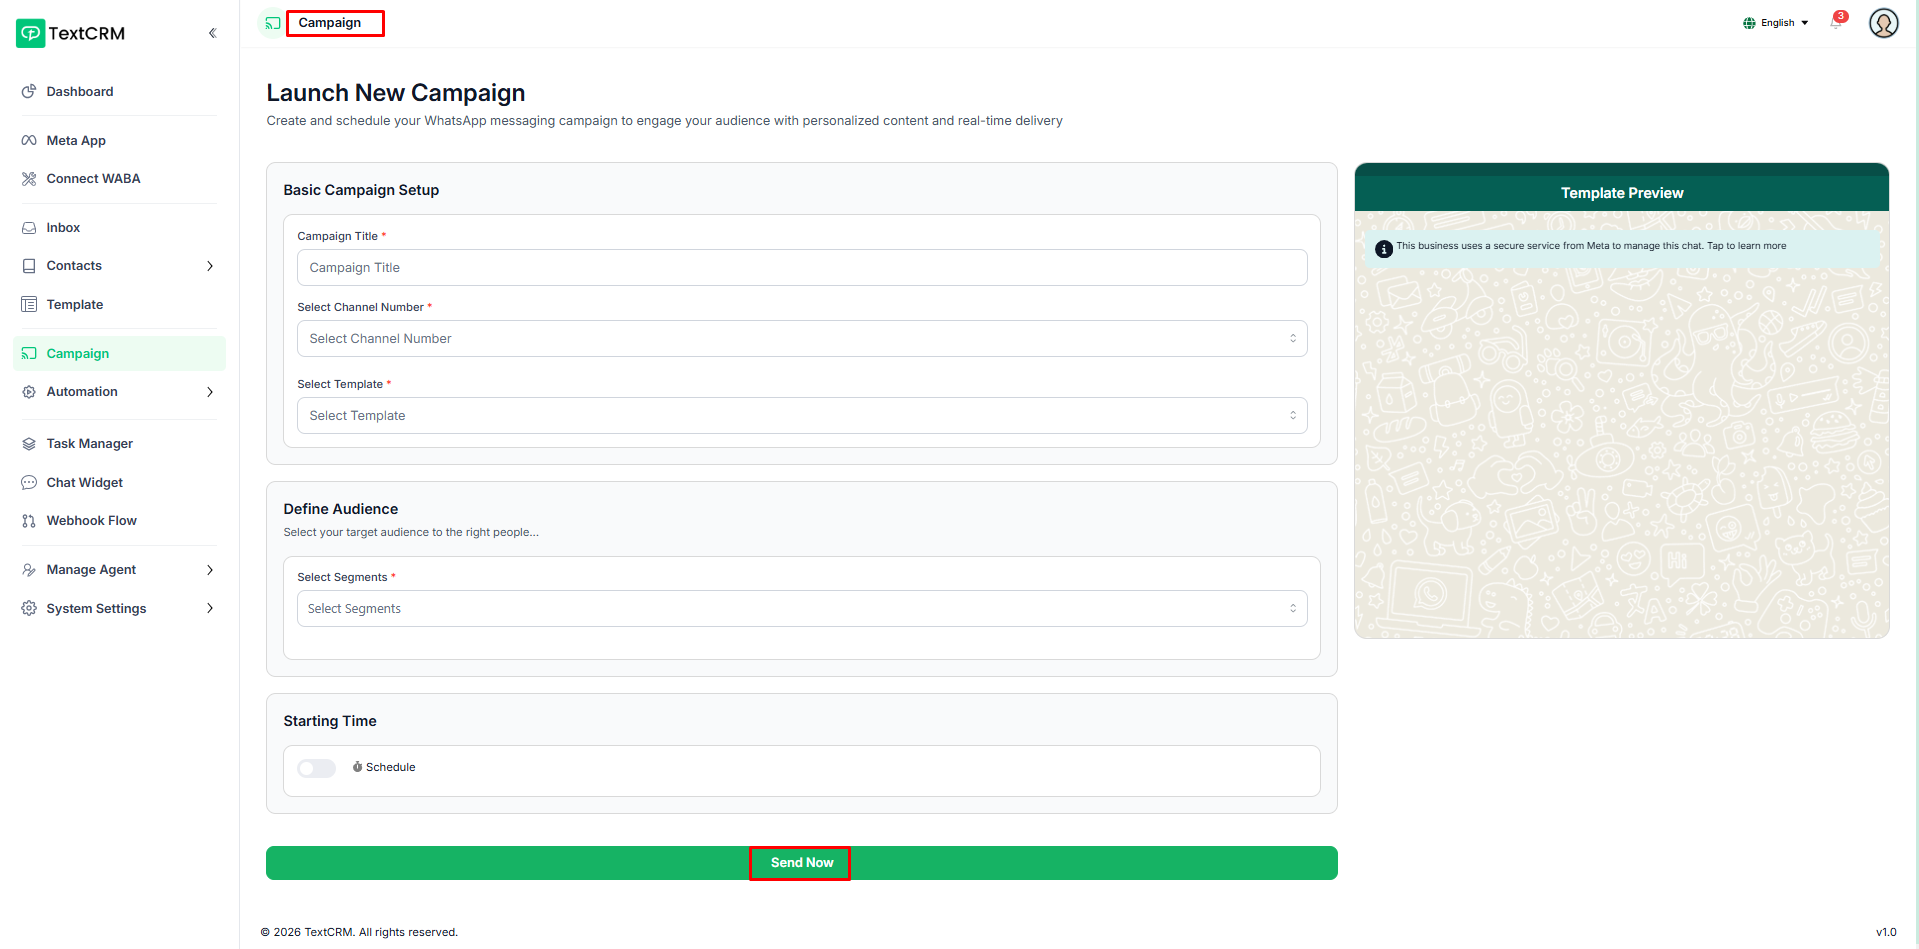
Campaign
The module allows users to create, schedule, and deliver WhatsApp message campaigns using approved templates from the WhatsApp Cloud API. It supports compliant, high-volume communication with leads and contacts.
Users can define their target audience by selecting a segment, contact list, or folder, or by applying contact filters. After choosing the start date, time, and time zone, users can schedule the campaign. Once scheduled, the campaign is automatically delivered to recipients through the connected WhatsApp account.
Chatbot Flow
Using the Flow Builder, users can design, automate, and manage interactive chatbot conversations with ease.
Message flows can be triggered by predefined keywords, enabling the system to automatically respond to user inquiries. This allows businesses to deliver product information, handle frequently asked questions, and streamline customer support through efficient, automated interactions.
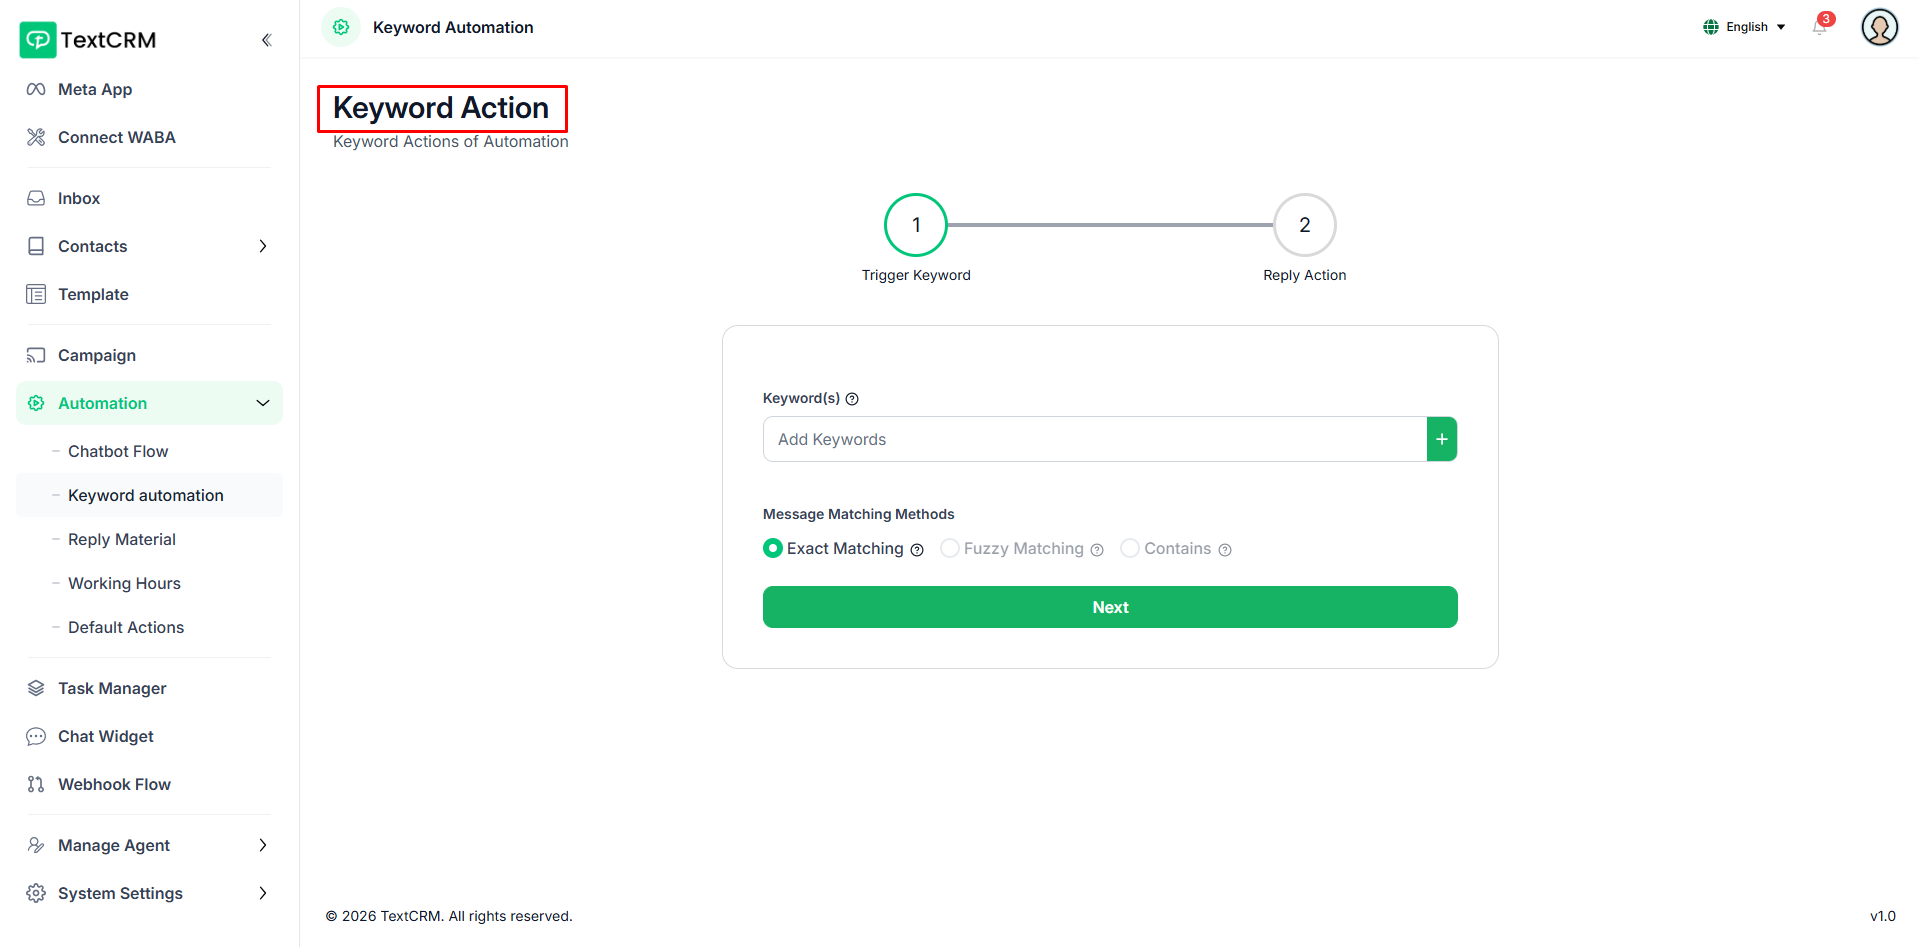
Keyword Automation
With keyword automation, users can create WhatsApp message flows using predefined keywords and reply content.
When a user sends a message that exactly matches a keyword, the system automatically sends the configured reply. Responses can include quick replies, images, documents, or full chatbot flows, allowing users to receive product-related information through automated message conversations.
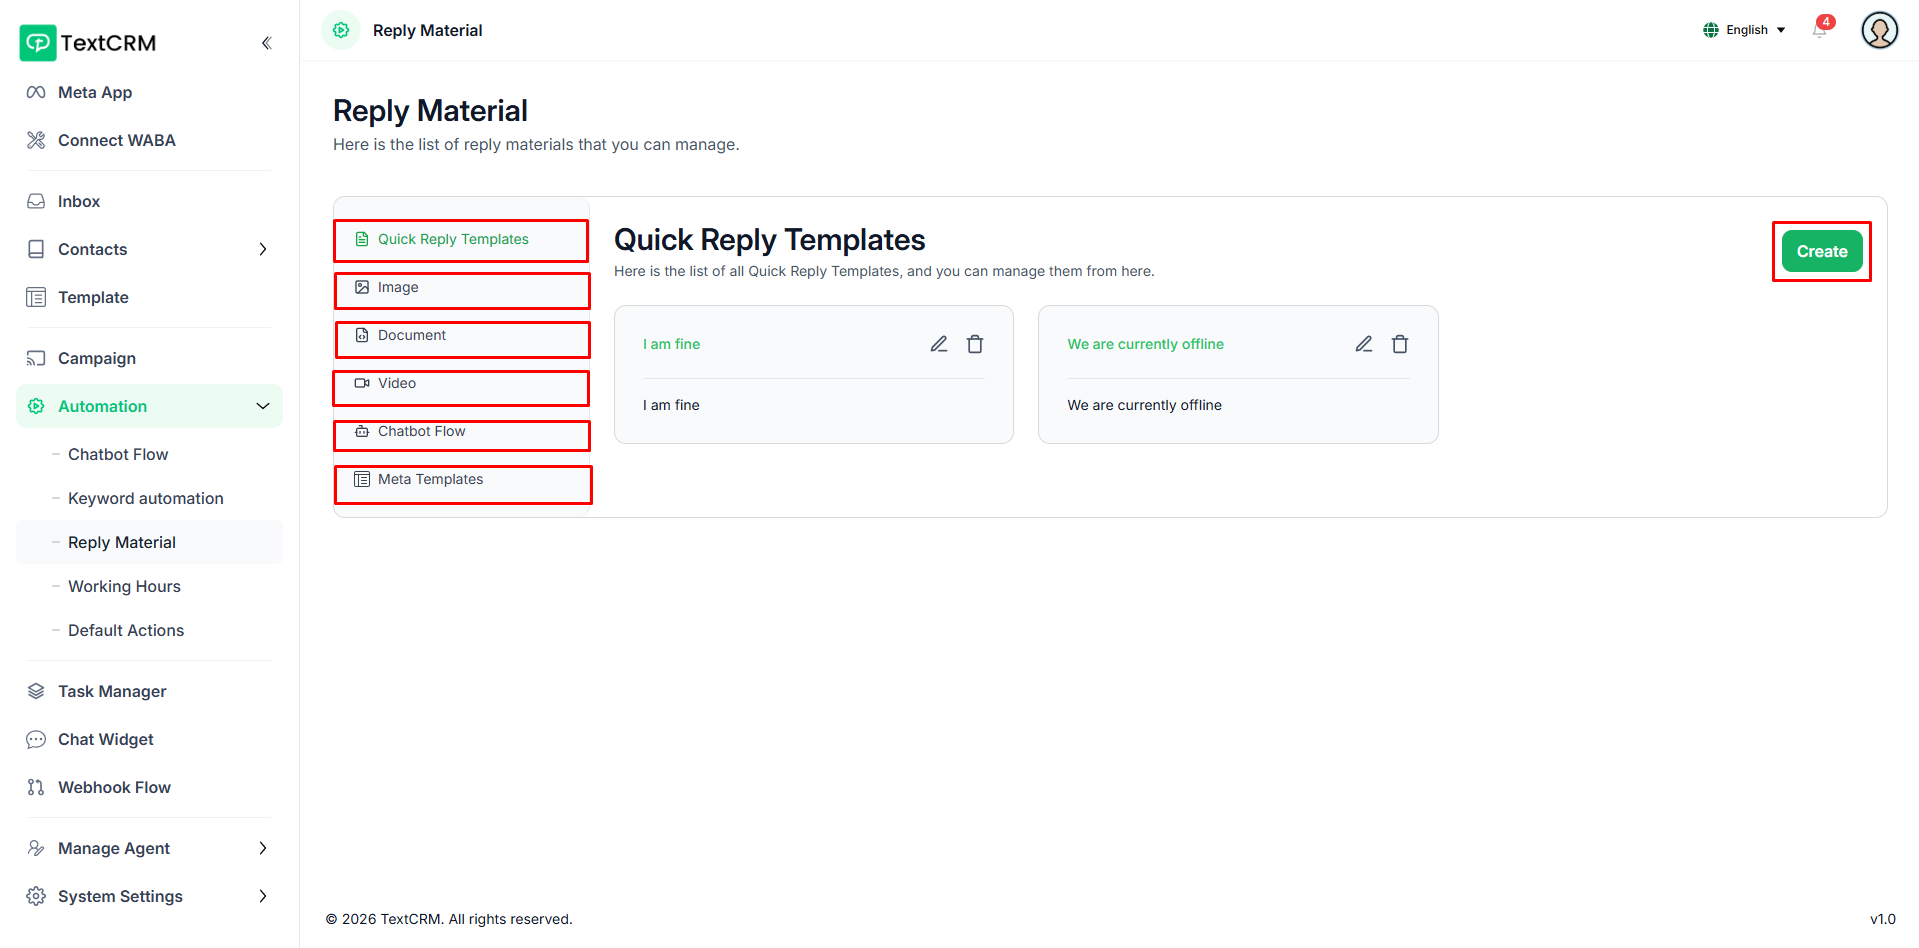
Reply Material
Using reply materials, the system can automatically send messages to users. By linking keywords with reply materials, users can configure features such as Quick Reply Templates, images, documents, videos, chatbot flows, and Meta templates to deliver automated responses.
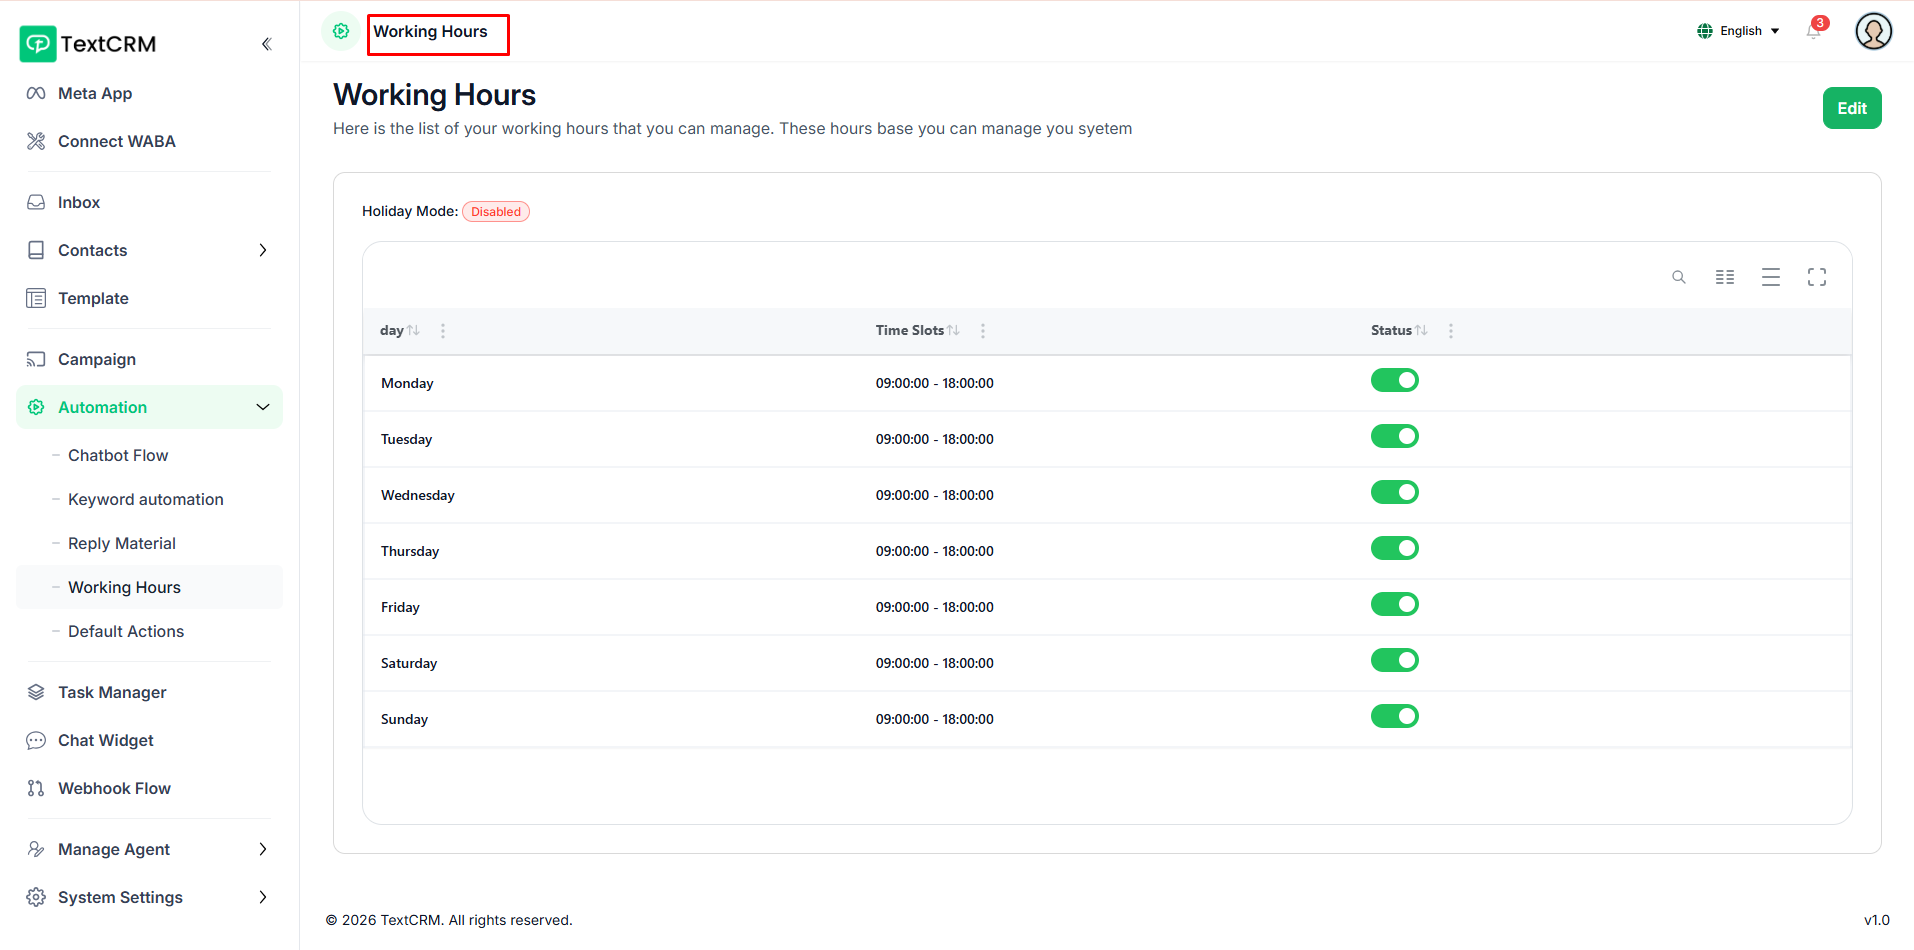
Working Hours
Users can set their working hours and define holidays. Messages received outside of working hours can trigger automated replies, or a specific working hour message template can be configured.
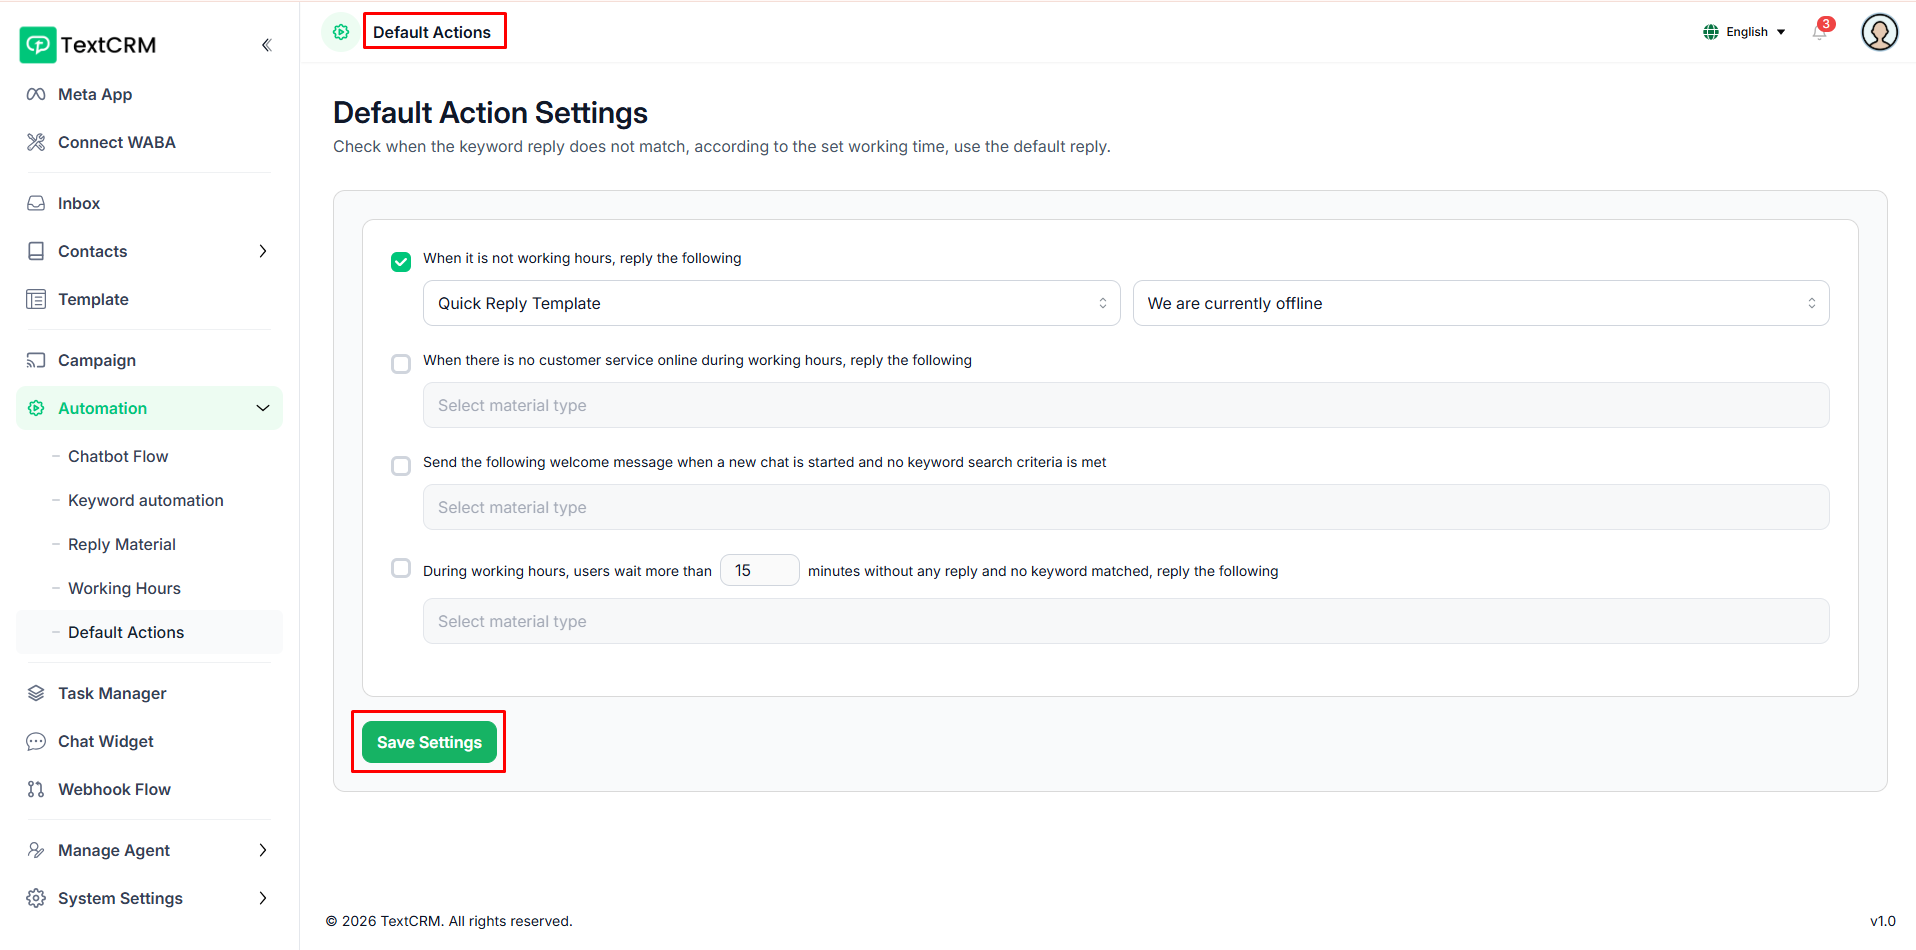
Default Actions
Administrators can configure how replies are handled when no keywords match. This includes setting responses for messages received outside working hours, as well as defining the reply a user will receive if no keyword match occurs and they do not get a response within 15 minutes.
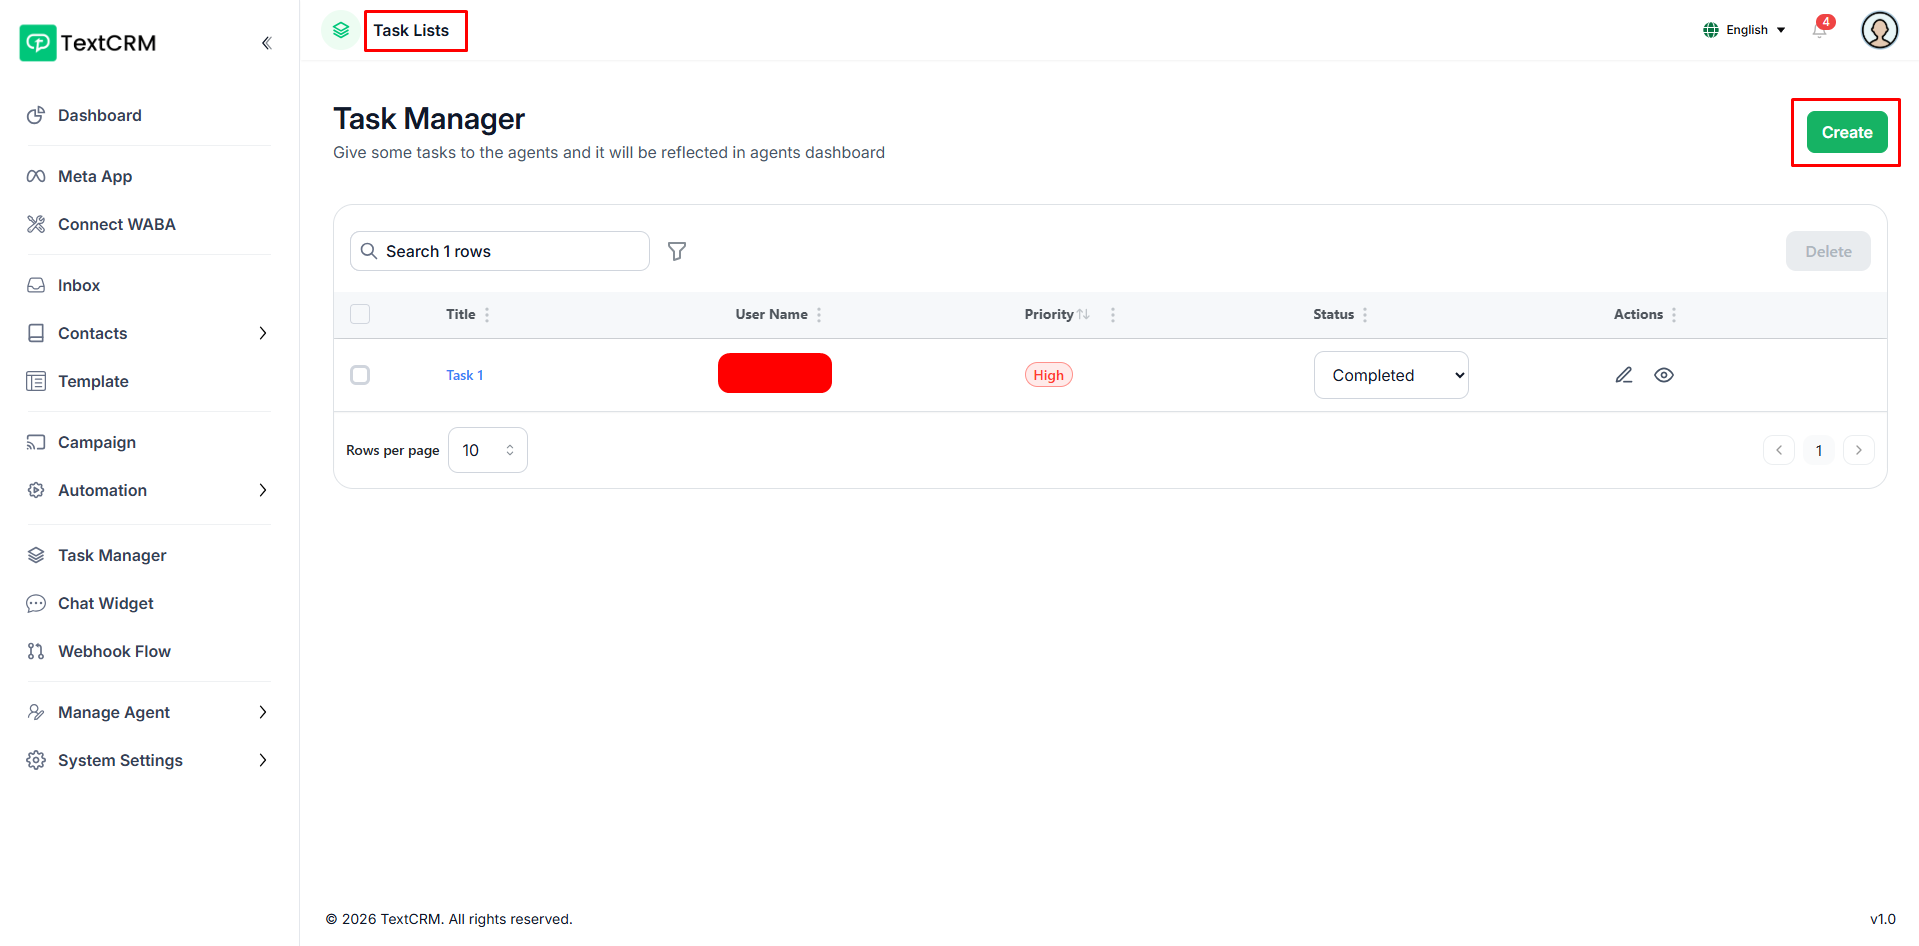
Task Manager
Task Manager keeps your team on track by letting admins create and assign tasks to one or more agents — each with a title, description, priority level, and due date. Assigned agents can update the task status, view full details, and leave threaded comments, ensuring clear accountability from creation to completion.
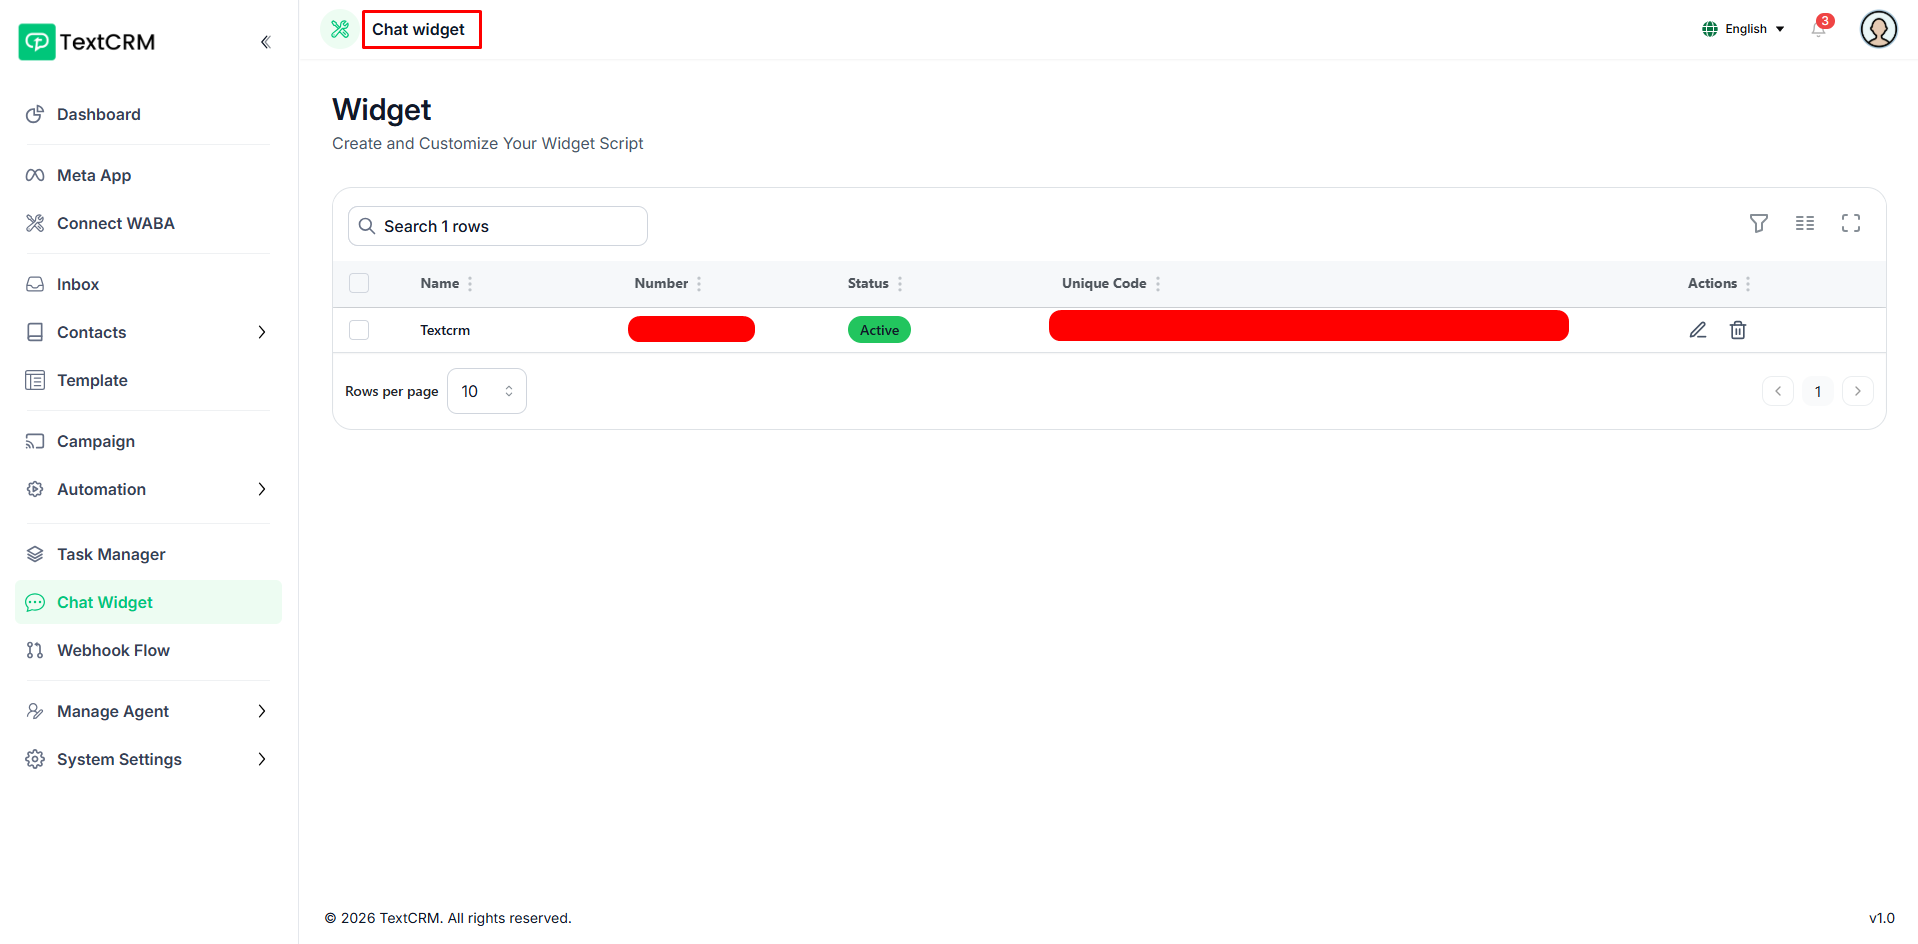
Chat Widget
Chat Widget turns your website into a WhatsApp entry point. Customize the floating button's brand color, position, header text, logo, and pre-filled message — then copy the generated script and embed it on any webpage to let visitors start a WhatsApp conversation instantly.
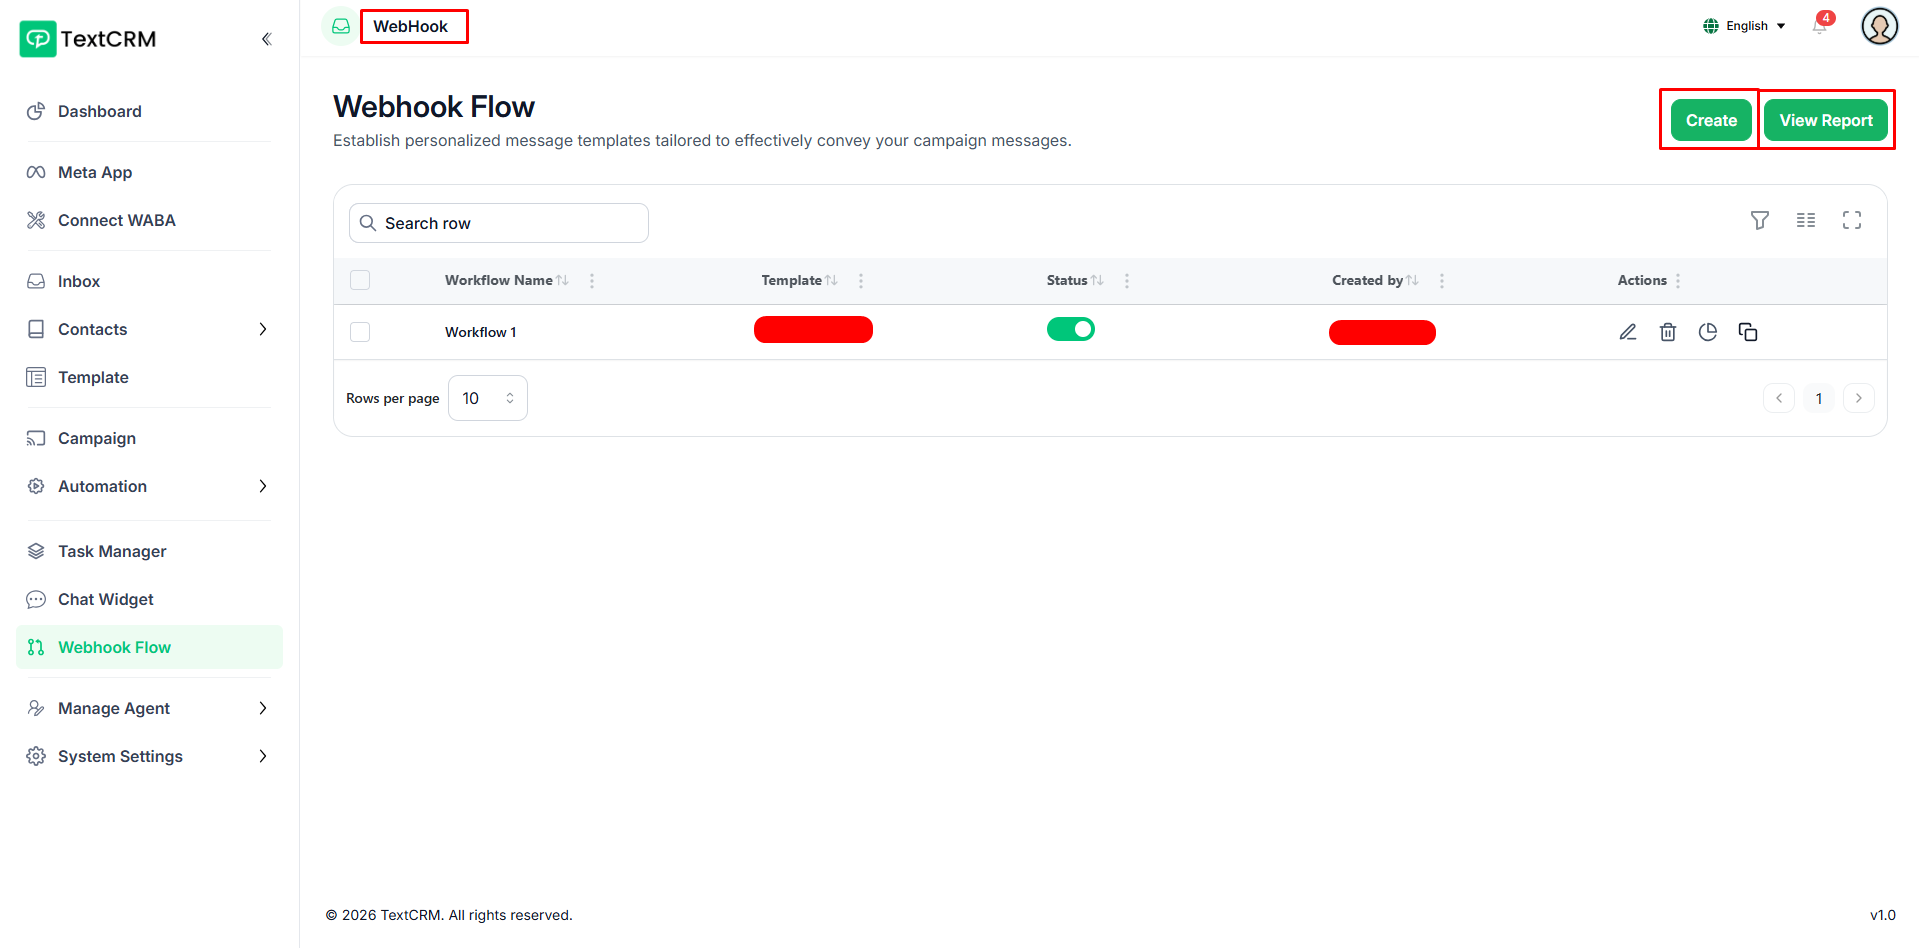
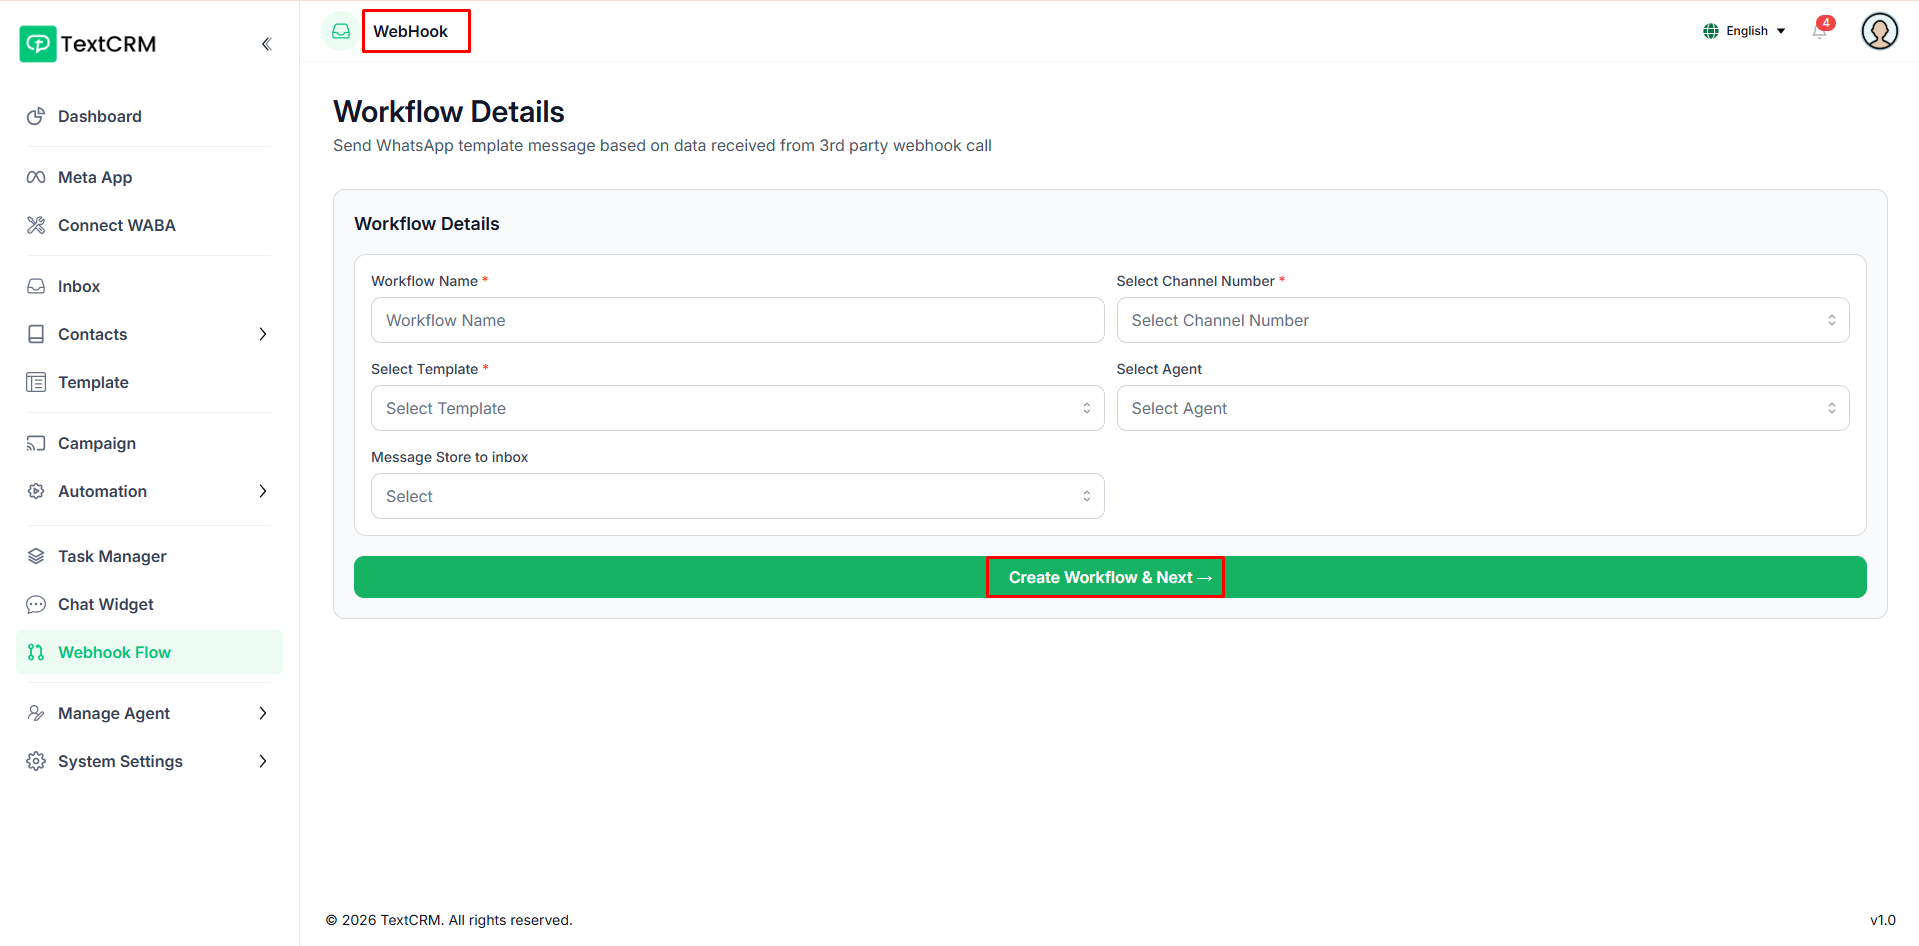
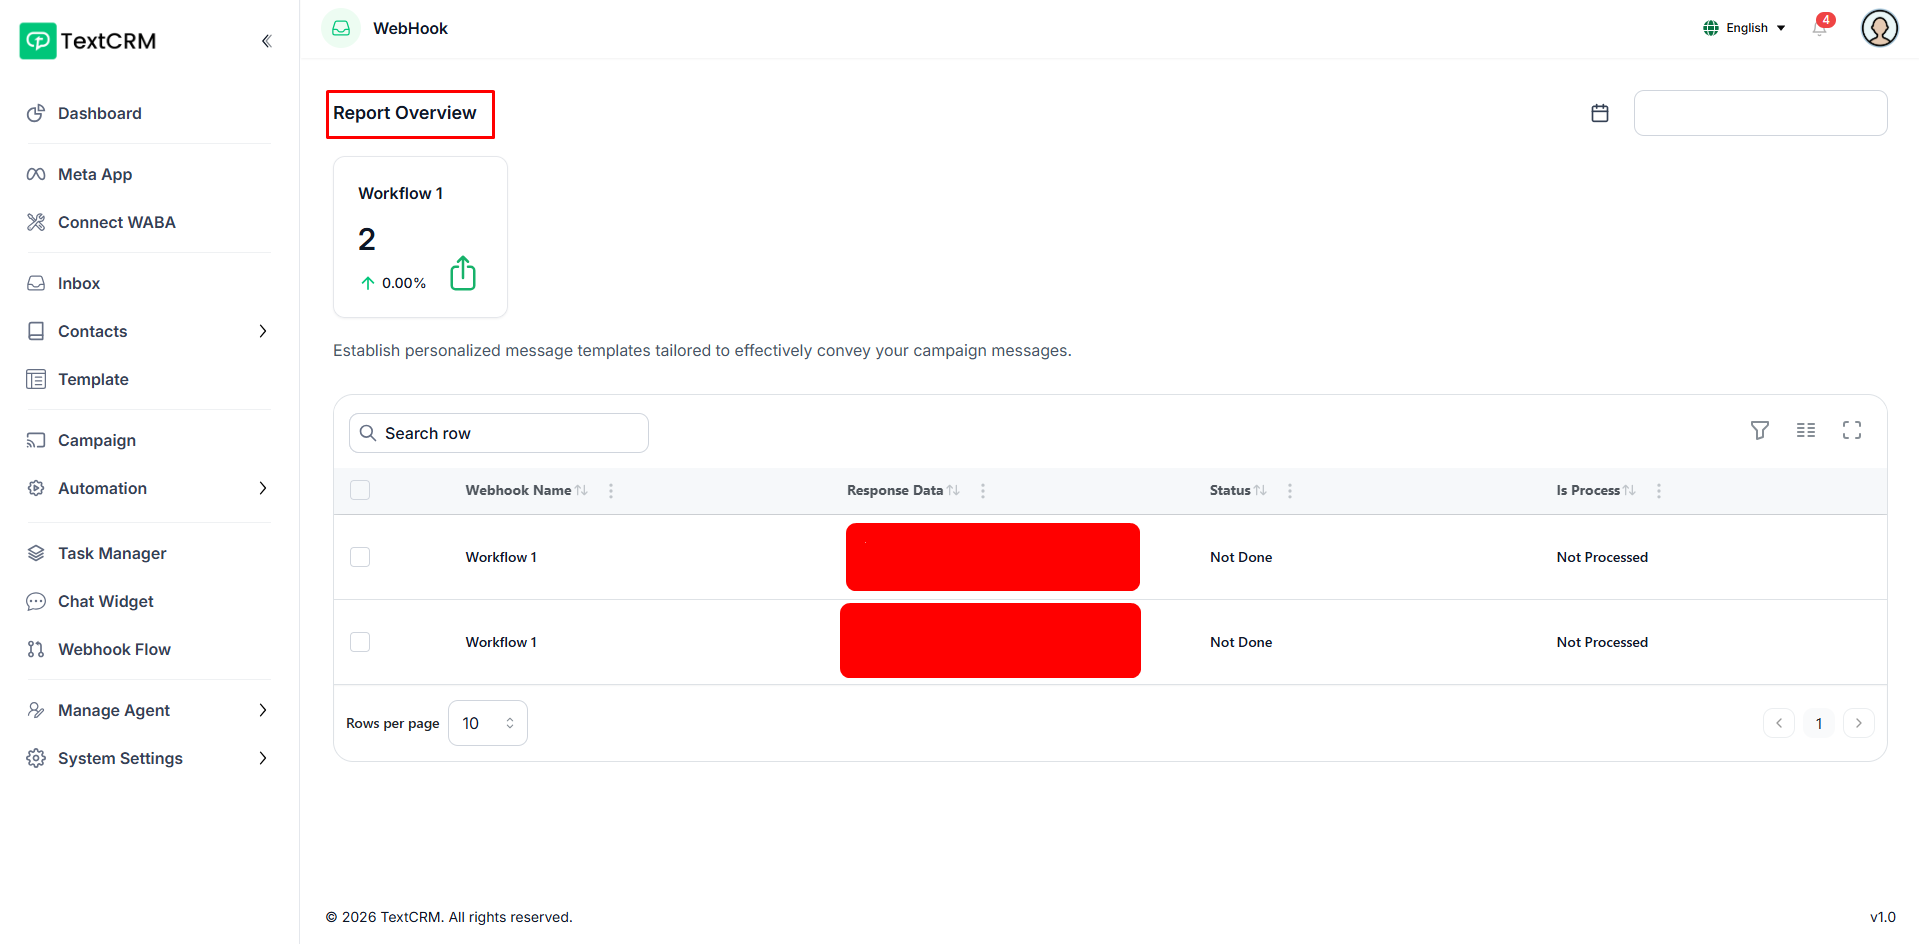
Webhook Flow
Webhook Flow bridges your external systems with WhatsApp messaging. Generate a unique webhook URL, point any third-party service at it, map the incoming data fields to your WhatsApp template variables, and TextCRM automatically sends a personalized message for every trigger — with full delivery reports to track results.
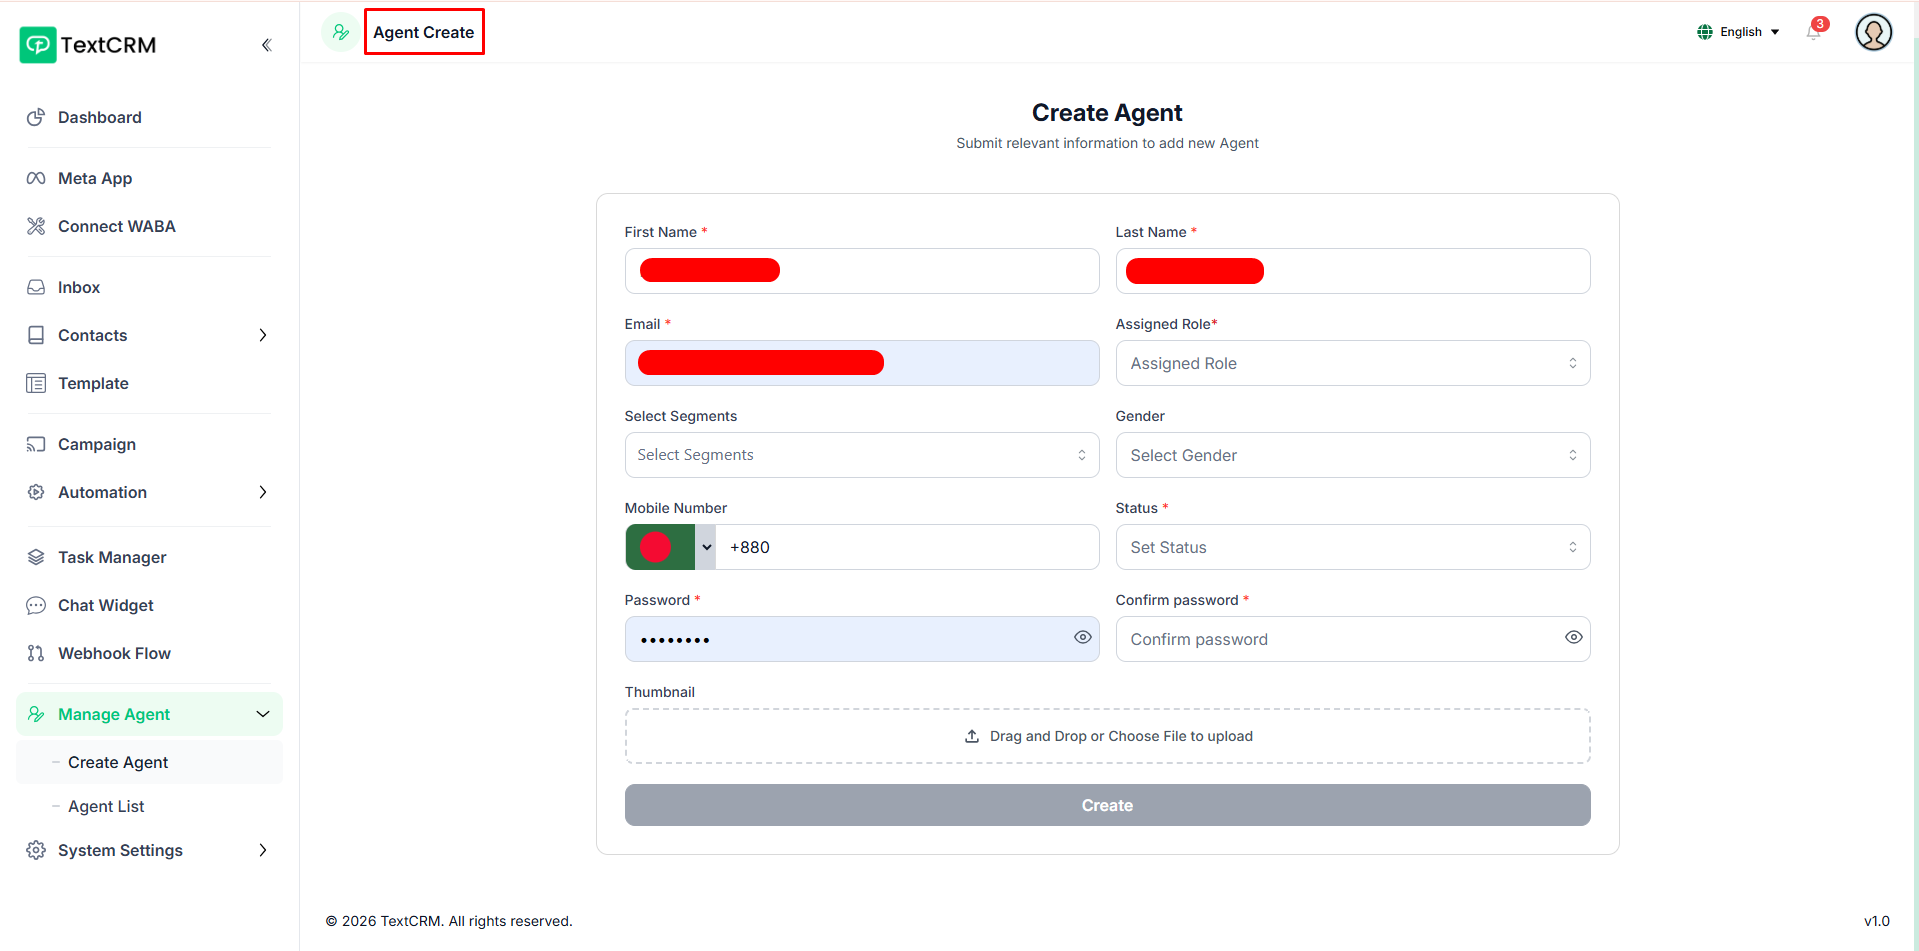
Create Agent
Creating an agent sets up a new team member with full login credentials — fill in their name, email, phone, and password, assign a role that determines their permissions, and set their initial status to Active or Inactive.
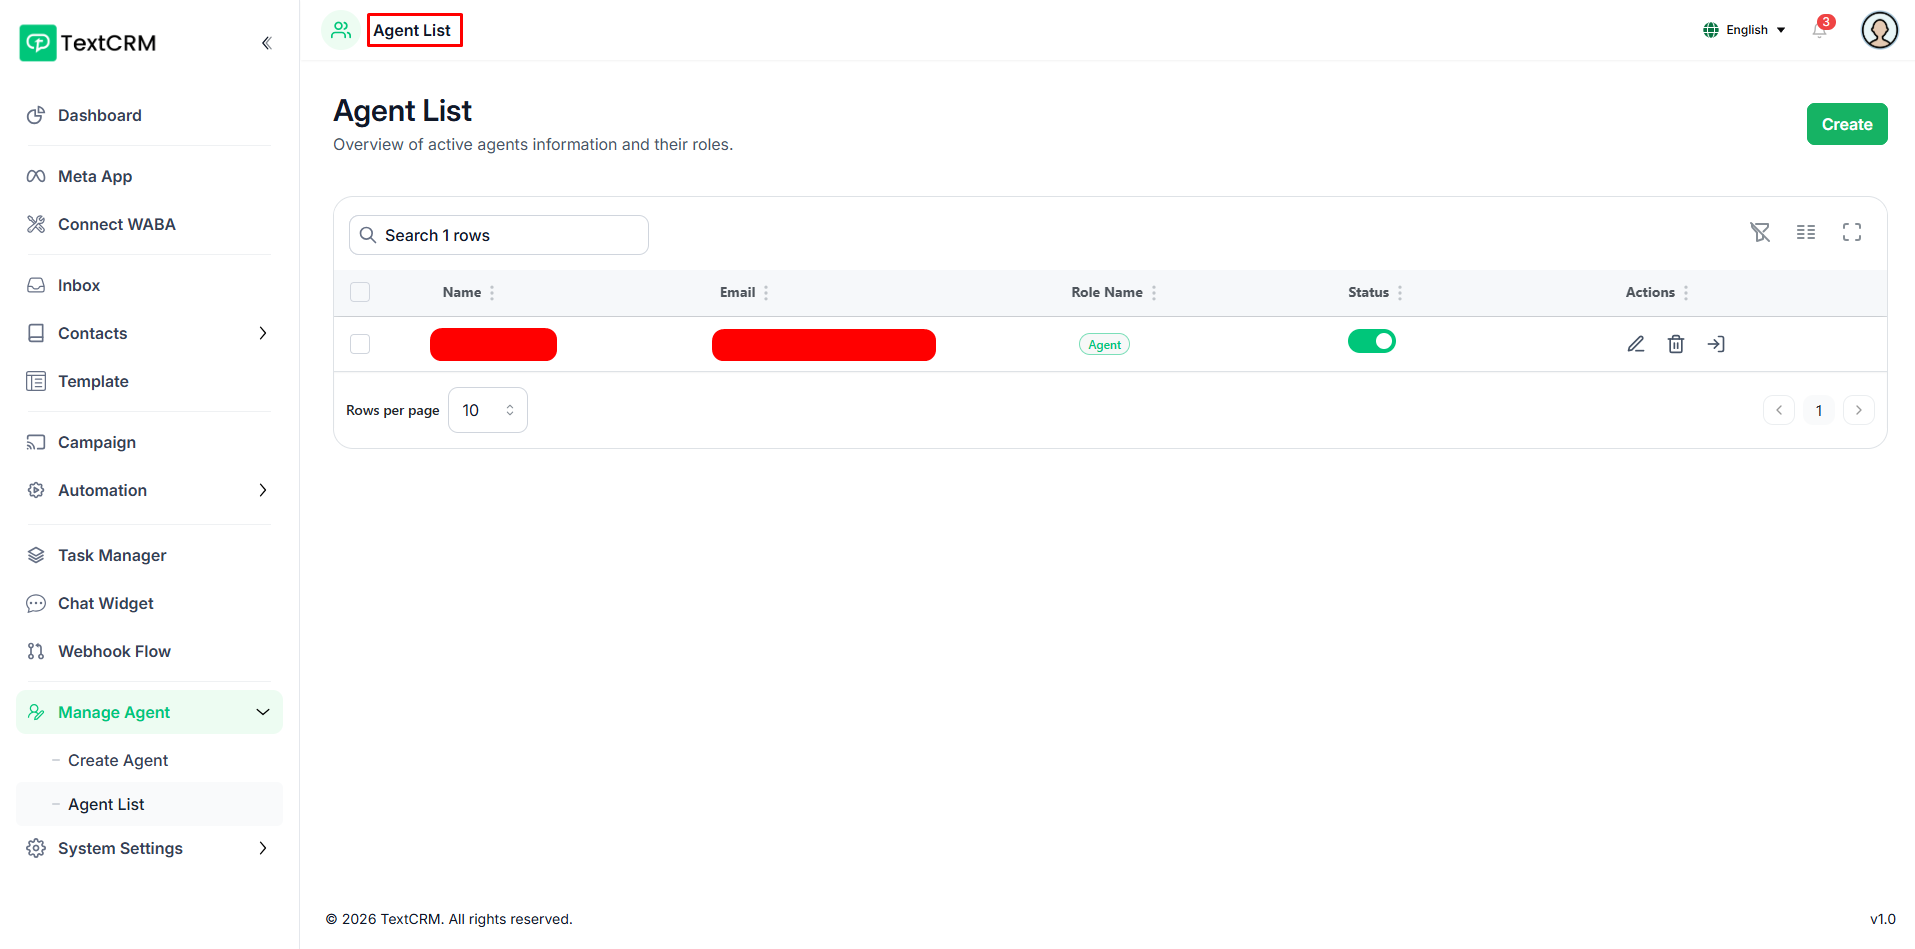
Agent List
Agent List gives the admin a complete overview of all agents and their assigned roles. Edit agent details, toggle active status, or remove agents with soft-delete support — deleted agents move to a trash view where they can be restored or permanently removed.
Demo Access
Want to explore TextCRM before installing? Use the live demo to experience all features firsthand.
Demo URL: https://textcrm-demo.luminousdemo.com
Admin Login
Email: admin@demo.com
Password: 12345678
Agent Login
Email: agent@demo.com
Password: 12345678
Note: To maintain consistency, create, update, and delete actions are restricted. Feel free to explore all features in testing mode.